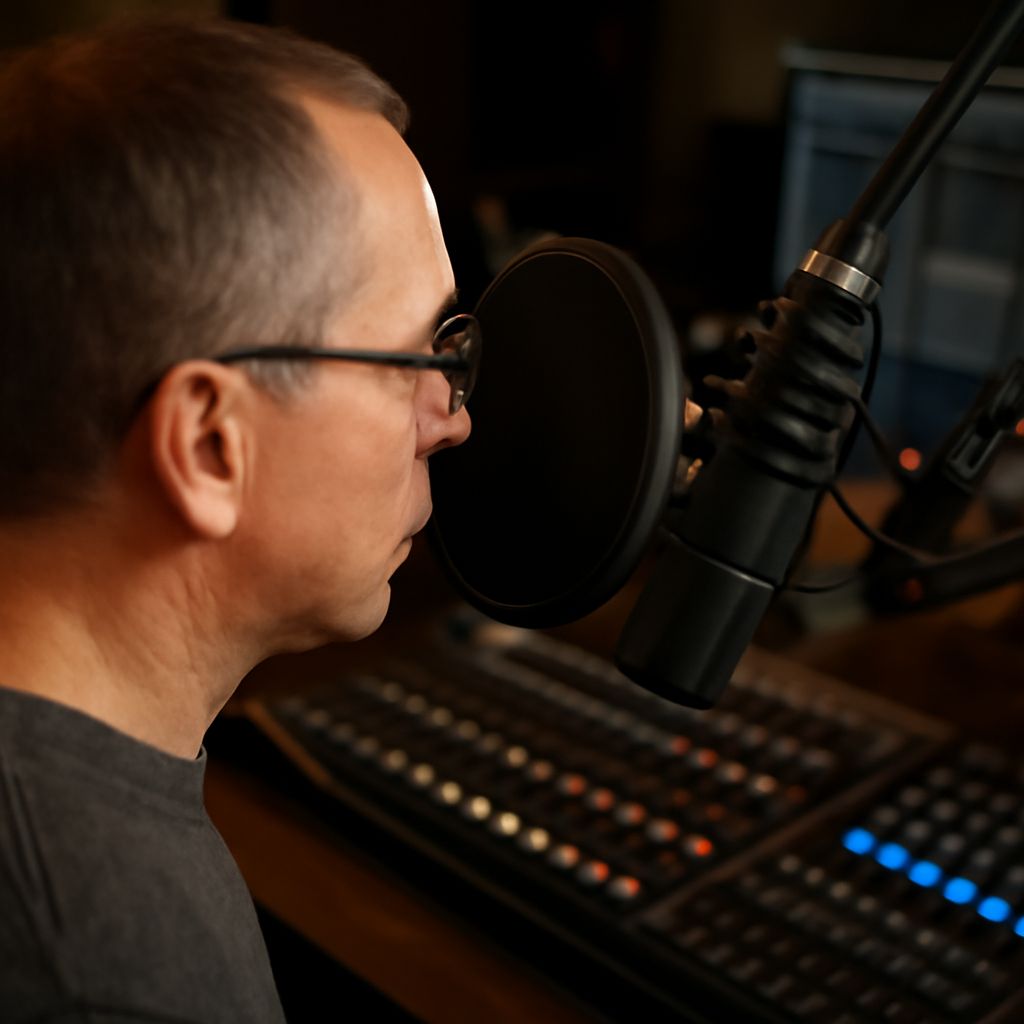
If you want to know how to get voice-over work, start with proof of performance, not gear shopping. A good beginner path is simple: pick one voice lane, practice until your reads sound controlled, choose a microphone that fits your room, then build short samples that make casting direct and useful.
The microphone matters, but only as part of a reliable recording setup. A modest mic in a quiet space with clean technique will beat an expensive mic in a noisy room every time. Build the process in order, and your first auditions will sound intentional instead of improvised.
How to get voice-over work as a beginner
Begin with one target you can repeat. Commercial reads, audiobook narration, e-learning, explainer videos, and character work all demand different pacing and tone. A beginner gets faster results by choosing one lane for practice instead of trying to sound like every type of voice talent at once.
Use this milestone sequence:
- Practice one style for 2 to 4 weeks. Record daily 30- to 60-second reads and listen back for pace, clarity, breath noise, and ending energy.
- Pick a room before you pick a microphone. A quiet closet, treated corner, or small room with soft furnishings usually works better than an untreated open space.
- Choose a microphone that fits the room and your workflow. Match the gear to your noise level, budget, and comfort with software or hardware monitoring.
- Create two to four short samples. Each sample should show one skill only, such as conversational commercial delivery or steady narration.
- Get feedback from working peers or coaches. Ask for notes on performance first, then recording quality, then editing.
- Prepare audition files and profiles. Build a clean intro note, a simple filename system, and a short bio that matches your chosen niche.
- Search for early opportunities. Apply to local businesses, nonprofit videos, indie creators, small agencies, and beginner-friendly casting platforms.
- Review progress every two weeks. Keep what books work, drop what sounds forced, and replace weak samples after each improvement cycle.
Your first measurable goal is not paid full-time work. It is a repeatable process that produces believable reads, clean audio, and enough confidence to audition without hesitation.
Choose and test a microphone for your room and workflow
For beginners, the best microphones for voice acting depend on the room and how much setup you want to manage. In a quiet, treated room, a good condenser can capture detail and nuance. In a less controlled room, a dynamic microphone often rejects more background noise and is easier to place.
Use this practical comparison:
- Quiet room, higher detail: A large-diaphragm condenser such as the Audio-Technica AT2035 or Rode NT1 can sound polished and open. These mics usually need an audio interface, phantom power, and careful gain staging.
- Unfinished or noisy room, simpler control: A dynamic mic like the Shure MV7 or Samson Q2U rejects more room sound and can be easier to manage for a beginner. The Q2U also gives you USB and XLR options, which helps if you want to start simple and upgrade later.
- Fast plug-and-record setup: USB microphones such as the Audio-Technica AT2020USB+ or Rode NT-USB Mini reduce gear complexity. They are convenient, but they may lock you into a narrower upgrade path than XLR setups.
- Flexible long-term workflow: An XLR microphone with an interface, such as a Focusrite Scarlett Solo paired with an AT2035, gives you more room to expand. It takes a little more setup, but it is easier to refine as your work grows.
Judge the options by five criteria:
- Room: If your room has echo, HVAC noise, or street noise, choose the most forgiving microphone path.
- Connection: USB is simpler. XLR offers more control and easier future upgrades.
- Monitoring: Check whether you can hear yourself through the mic or interface without delay. Direct monitoring helps you control distance, plosives, and volume.
- Noise: Listen for self-noise, hum, computer fan bleed, and mouth clicks. A microphone that sounds “rich” but captures every room reflection is a poor beginner choice.
- Budget and reliability: Buy the most stable setup you can afford, not the most expensive one. Consistent operation matters more than a brand name.
Run a spoken-word test before you commit. Read a 45-second script at your normal audition pace. Include soft lines, energetic lines, sibilant words, and plosives like “p,” “b,” and “t.” Record three takes:
- at normal speaking distance
- slightly closer to the mic
- slightly farther back
Then listen for four things: whether the voice stays natural, whether background noise becomes obvious in pauses, whether the mic exaggerates harsh consonants, and whether the tone remains steady when you move a little. The right microphone is the one that stays usable with small performance changes.
Set your position at about 6 to 8 inches from the mic as a starting point, then adjust with a pop filter and off-axis placement if needed. If the sound gets boomy or breathy when you move closer, back off. If the room sound jumps out when you move away, the space needs treatment or a more forgiving mic.
Record samples that prove one skill at a time
Effective samples are short, specific, and easy to evaluate. A casting listener should know within a few seconds what you do well. Do not combine too many styles in one clip. A beginner demo works best as a set of focused clips rather than a single overproduced reel.
Build each sample around one skill:
- Commercial read: 20 to 40 seconds of conversational, confident delivery.
- Narration sample: 30 to 60 seconds with clear pacing and smooth transitions.
- Character or promo sample: a controlled piece that shows energy without shouting.
- Explainer or e-learning sample: calm, precise delivery with clean pronunciation.
Record in this order:
- Prepare the script. Use material that sounds realistic and matches the work you want. Rewrite the script if it contains awkward lines that do not fit your voice.
- Warm up first. Read aloud for five minutes before recording so your breath, articulation, and pacing settle.
- Capture multiple takes. Aim for three to five takes per sample. Keep the best natural take, not the loudest or most edited one.
- Edit lightly. Remove obvious clicks, long pauses, and mistakes. Keep the read human.
- Check consistency. Play the sample on headphones and speakers. If the voice sounds too compressed, too distant, or too processed, re-record instead of over-editing.
Good samples are easy to hear and easy to trust. They should show:
- clear words at a steady pace
- controlled breaths and low room noise
- a believable tone for the target work
- audio that sounds similar across clips
A weak sample is usually too long, too polished, or too broad. If a clip tries to prove every style at once, it proves none of them well. Keep the first set lean and update it as soon as your reads improve.
Find feedback, auditions, and your first clients
Once you have usable clips, move from private practice to outside feedback. Send your best sample to one coach, one working voice actor, or one small peer group. Ask for specific notes on performance, recording quality, and whether the material fits the intended market.
Use feedback in this order:
- Performance: Was the read believable, engaging, and paced well?
- Technical quality: Was the recording clean, balanced, and free of distracting noise?
- Market fit: Does the sample match commercial, narration, corporate, or character expectations?
Prepare audition materials before you start applying. Keep a short email template, a simple filename format, and a clean folder with your best samples. When a brief arrives, reply quickly, attach only what is requested, and label files clearly. A reliable response process can matter as much as raw talent in the early stage.
Search for opportunities where small buyers need clear, affordable voice work. Good starting points include:
- local businesses needing web videos or ads
- marketing agencies with occasional overflow work
- nonprofits and schools producing short explainers
- indie game and animation teams
- beginner-friendly casting sites and freelance platforms
For each opportunity, check whether the request matches your strongest sample. If the work needs a warm explainer read, send the explainer clip. If it calls for conversational commercial energy, send that instead. Matching the sample to the job is more effective than sending every file you have.
Review your progress every two weeks with three questions in mind: which reads sound most natural, which microphone settings produce the cleanest result, and which opportunities led to real replies. Keep a short log of auditions, responses, and sample performance. Replace any clip that no longer represents your current level, then send the improved version into the next round of opportunities.