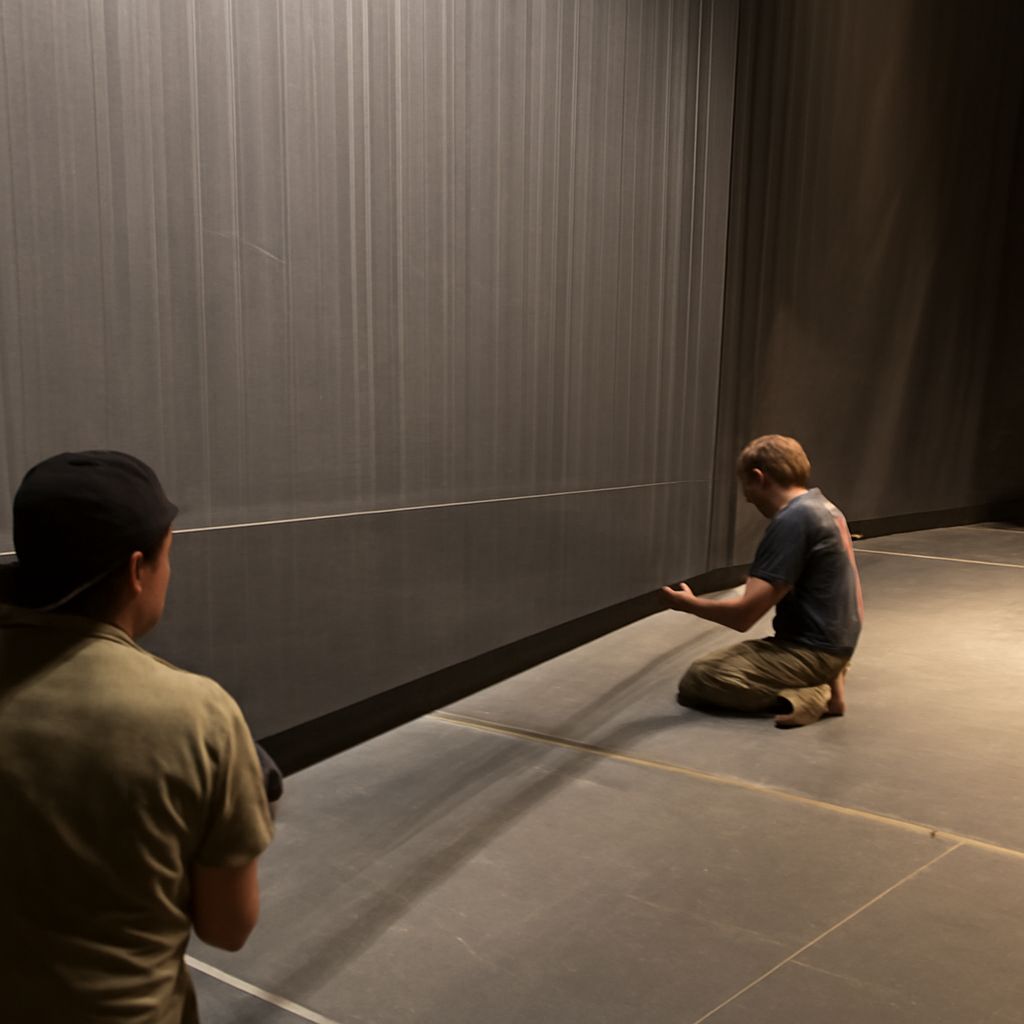
A theater scrim is an open-weave stage fabric that can look solid, translucent, or nearly invisible as lighting and performer placement change. Directors use it to separate stage areas, soften an image, hide scenery, or reveal performers without a full scene change.
Theatre blocking provides the movement plan that makes those effects readable. Start with clear stage pictures, motivated movement, and reliable sightlines. Then adjust distance, angle, costumes, scenery, and lighting so the scrim supports rather than obscures the performance.
What a theater scrim is and how it appears
A scrim is commonly made from cotton sharkstooth gauze or a similar synthetic open-weave fabric. Its mesh allows light to pass through, but the audience does not see the same image from both sides. The visible result depends mainly on which side is brighter.
- Front light: Light from the audience side illuminates the scrim and makes its surface appear more solid. Performers behind it may fade from view or become indistinct.
- Light behind the scrim: Backlight illuminates performers, scenery, or haze behind the fabric. The scrim can recede visually, allowing the audience to see through it.
- Balanced light: When both sides receive similar levels, the fabric and the objects behind it may compete for attention. The result is often a ghosted or layered image rather than a clean reveal.
A scrim therefore is not a conventional opaque curtain under all lighting conditions. It can conceal an area in one cue and expose that same area in the next. The lighting change must be deliberate and timed with the performers’ positions.
Distance changes the effect. A performer close behind the scrim may create a strong silhouette or remain visibly textured when backlit. A performer farther upstage may appear smaller, dimmer, and less distinct. Greater separation can also make the reveal feel deeper, provided the lighting keeps the background from becoming muddy.
Viewing angle matters as well. A performer directly behind the scrim is usually easier to read than one far stage left or right, where the audience sees the fabric at an angle. Side light can emphasize the scrim’s weave, while a strong diagonal light may reveal seams, wrinkles, or nearby scenery.
Scenery and costumes affect contrast. A dark costume against a bright background creates a readable silhouette; a dark costume against a dark set may disappear. Pale or reflective materials can catch unwanted light and draw focus before the intended cue. Test hats, veils, props, and large scenic pieces in the actual lighting state rather than judging them under rehearsal-room light.
Blocking fundamentals: goals, zones, and notation
Blocking is the planned placement and movement of performers during a scene. Its main goals are to communicate the story, maintain audience visibility, establish relationships, control focus, and create smooth traffic. A strong stage picture should make clear who is speaking, who is reacting, where attention should go, and why each person moves.
Divide the stage into practical zones before assigning detailed movement. The usual terms are:
- Upstage: The area farthest from the audience.
- Downstage: The area closest to the audience.
- Center stage: The middle area, often a naturally strong focus position.
- Stage left and stage right: The performers’ left and right when facing the audience, not the audience’s left and right.
These zones can be divided further into positions such as upstage left, downstage center, or center right. A director may also use a nine-part grid, but the grid is a planning aid rather than a rule. The best position depends on sightlines, light, composition, and the dramatic purpose of the moment.
Begin with motivation. A performer should cross to answer a practical need, respond to another character, change a relationship, retrieve an object, or prepare for a cue. Avoid movement that merely fills space. When a cross is necessary, plan its path so it does not hide a more important face, interrupt a revealing silhouette, or force another performer into an awkward position.
Composition controls the audience’s attention. Vary levels, spacing, diagonals, and group shapes rather than placing everyone in a straight line. Keep the primary speaker visually distinct through position, light, height, or stillness. A performer standing still in an open area may command more focus than a performer moving through a crowded stage picture.
Record blocking in the script using consistent, brief notation. Common examples include:
- USL, USC, DSR: Upstage left, upstage center, and downstage right.
- X: Crosses to another position.
- XR to DSC: Crosses right to downstage center.
- Enter SL / Exit SR: Enters from stage left or exits stage right.
- GO on LX 12: The movement or action begins with lighting cue 12.
Write the motivation beside the movement when it may be forgotten: “X to window to see outside” or “moves behind scrim as bell sounds.” Mark only confirmed choices in the working script. During rehearsal, update the notation when a safer, clearer, or more motivated path replaces the original.
Plan theatre blocking for scrim visibility and reveals
Plan a scrim sequence in three states: before the reveal, during the transition, and after the reveal. Identify what the audience should see in each state and which performer or object has priority. The same blocking may read well in one state and disappear in another.
Before a reveal, front light can make the scrim appear present and conceal activity behind it. Performers behind the fabric should remain still or use controlled, simple gestures if they are intended to register as a distant image. Large gestures can create accidental shadows and make the audience focus on movement that has no dramatic purpose.
For a reveal, reduce or fade the front light while bringing up light behind the scrim. The change should be gradual when the image needs to emerge mysteriously and sharper when the script calls for surprise. A performer who steps into the backlight during the cue may become legible sooner than one who remains in a dim pocket.
Place performers according to the desired visibility:
- For opacity or concealment: Keep the scrim brighter than the area behind it. Place hidden performers away from the fabric if their outlines must soften, and avoid backlight that creates a strong silhouette.
- For translucency: Use moderate backlight and separate the performer from the scrim. Restrict movement to shapes that remain recognizable without becoming fully exposed.
- For a clear reveal: Increase the light behind the scrim, give the performer a contrasting background, and keep the performer in a readable zone rather than at an extreme side angle.
A performer close to the fabric may look larger and more graphic, but small shifts can also expose the scrim’s texture or produce an unintended shadow. Moving farther upstage creates depth and may allow scenery or other performers to appear in layers. Confirm that the distance still supports facial visibility if the audience must read expressions.
Use angles with care. A diagonal entrance behind the scrim can create a gradual reveal as the performer moves into the strongest backlight. However, a side angle may place the performer behind a frame, masking unit, or scrim edge. Mark a reveal position on the floor when a precise location is essential.
Scenery can either frame the reveal or block it. Keep legs, furniture, platforms, and masking pieces outside the critical sightline unless they are part of the image. Costumes should separate performers from the background without reflecting light into the audience. If several figures appear behind the scrim, vary their spacing and levels so they read as a deliberate composition rather than a crowded silhouette.
Rehearse sightlines, focus, entrances, and transitions
Test scrim blocking from the audience’s actual sightlines. Check the center, both sides, the front rows, and the highest seating area. A position that looks clear from the director’s chair may disappear for spectators seated farther to one side. Ask performers to hold the planned positions while the crew checks what is visible at each lighting level.
Rehearse focus separately from visibility. A performer can be visible but still fail to attract attention if another actor is moving, brightly lit, elevated, or placed in a stronger composition. During a scrim reveal, reduce competing movement and hold visible performers in purposeful stillness until the audience has understood the image.
Plan entrances with the scrim’s visual state in mind. An entrance from behind the fabric may be a silhouette, a gradual appearance, or a fully visible walk depending on the cue. Give performers a clear starting mark, a speed, and a stopping point. If an entrance must land on a line, sound cue, or lighting change, rehearse the timing from the preset rather than starting only after the cue.
Traffic paths should not force performers through the strongest reveal position too early. Establish separate lanes for actors entering, crossing, and exiting. Keep cables, platforms, and low scenery outside those paths. When a performer passes in front of the scrim, decide whether the audience should read the performer as part of the foreground action or as an interruption to the image behind.
Run transitions at performance speed. Note the exact order of performer movement, light changes, sound cues, and scenery shifts. A useful cue sequence might be: front light fades, the actor behind the scrim reaches the mark, backlight rises, the actor holds for two counts, and the foreground performer crosses downstage. Record those relationships in the prompt script so the reveal does not depend on memory.
Watch for common failure cues: the scrim remains visible when it should disappear, a performer’s costume blends into the background, a silhouette becomes too detailed, or a front-stage actor steals focus during the reveal. Correct the relevant cause rather than simply adding brightness. Adjust the performer’s distance, angle, movement, contrast, or position first, then refine the lighting level and timing.
Finish with a full run from the audience. Confirm that every entrance is safe, every important face or silhouette is readable, each transition has enough time, and the final image matches the intended dramatic focus.