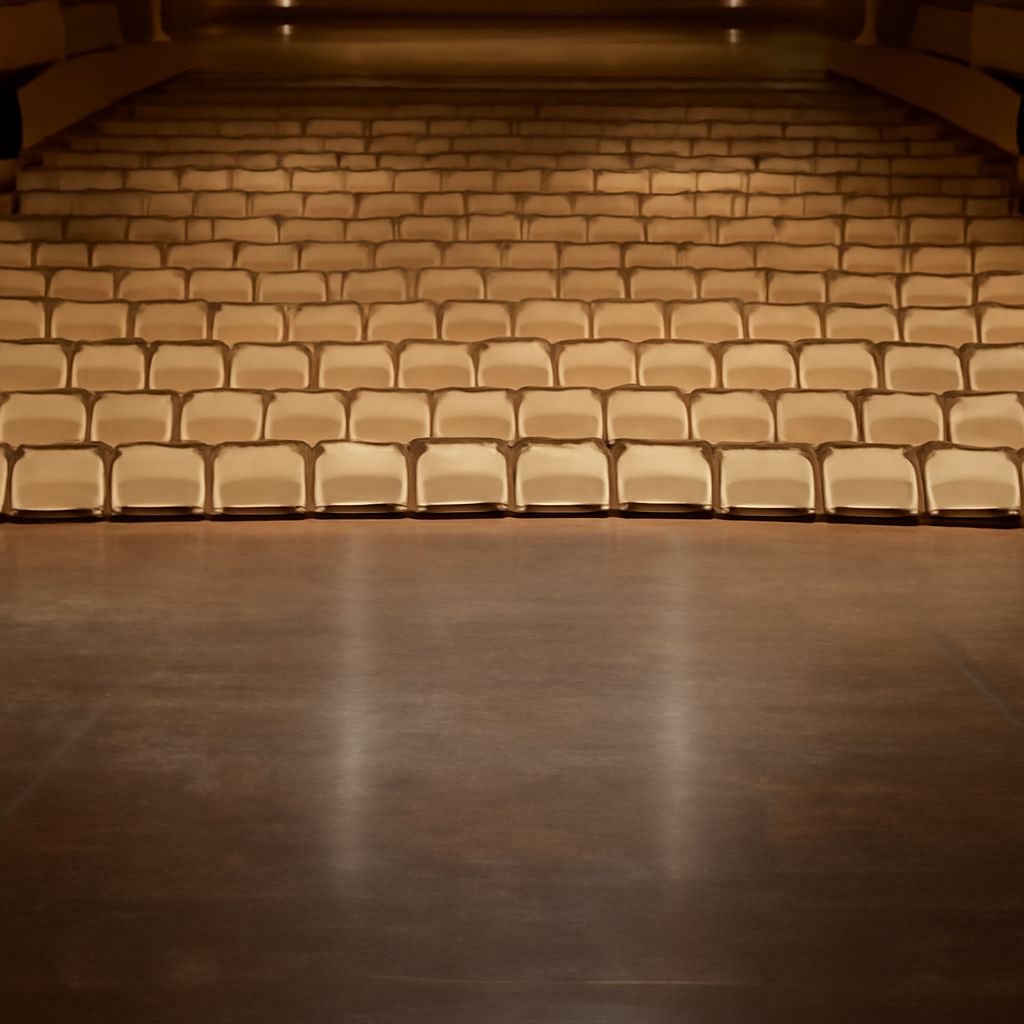
Stage left and right are named from the performer’s point of view, not the audience’s. When an actor faces the audience, stage left is the actor’s left and appears on the audience’s right. Stage right is the actor’s right and appears on the audience’s left. Upstage is farther from the audience; downstage is closer.
This directional map gives performers and designers a shared language. The same map helps a set designer place entrances, furniture, levels, and focal areas without blocking sightlines or creating unsafe traffic. Use the performer’s view consistently in rehearsal notes, ground plans, and movement instructions.
Stage left and right: the performer’s directional map
Imagine standing onstage and looking out at the audience. Your left is stage left. Your right is stage right. The audience sees these sides reversed, but the theatrical terms do not change.
Performer-view stage map:
- Upstage left | Upstage center | Upstage right
- Center left | Center stage | Center right
- Downstage left | Downstage center | Downstage right
Upstage describes the area toward the rear wall or back of the playing space. Downstage describes the area nearest the audience. The terms come from older stages that sloped upward away from the audience, although many modern stages are flat.
Directors often combine these terms with abbreviations:
- USL: upstage left
- USC: upstage center
- USR: upstage right
- CS: center stage
- DSL: downstage left
- DSC: downstage center
- DSR: downstage right
For example, “Enter from stage right and cross to downstage left” means the performer enters from the performer’s right, then moves diagonally toward the front-left area. From the audience, that entrance appears on the audience’s left and the destination appears on the audience’s right.
Center stage is usually divided into center left, center, and center right when precise placement matters. A rehearsal note such as “place the chair just downstage right of center” gives the actor a practical target while leaving room for the designer to adjust the exact position.
Stage locations: zones, entrances, levels, dimensions, and sightlines
Stage locations become useful when they connect direction with the physical limits of a particular theater. A location is not only a label on the floor. It also depends on the stage width, depth, wing space, entrances, platforms, curtains, scenery, and audience viewpoint.
Begin a basic plan by recording the playing area’s dimensions. Measure the usable width from stage left to stage right, the depth from the downstage edge to the rear wall, and the height available above the stage. Mark the proscenium opening or audience boundary, masking curtains, backstage exits, storage areas, and any fixed scenery.
Then divide the floor into practical zones. A simple plan might assign:
- Downstage center: a strong speaking or presentation area with direct audience visibility.
- Downstage left and right: intimate playing areas, entrances, or positions for brief exchanges.
- Center stage: the main shared action zone, especially for scenes with several performers.
- Upstage areas: rear entrances, background action, elevated scenery, or transitions that should remain less dominant.
- Stage-left and stage-right wings: waiting areas, props, quick entrances, and exits outside the audience’s view.
Entrances should match the script and the building. A door in a set may represent a room, street, office, or backstage corridor, while an open wing can support a faster theatrical entrance. Give each entrance a clear purpose and enough space for the performers who use it. Check whether an actor can enter, stop, turn, and reach the first mark without colliding with furniture or another performer.
Levels add height and can clarify relationships. A low platform may separate a playing area from the main floor. Steps can create a visible transition between levels, while a raised landing can give a character authority or place background action above the main scene. Every level needs stable access, safe edges, and enough headroom. It must also preserve the audience’s view of important action.
Sightlines are the lines of vision from audience seats to the stage. Test them from the center, the extreme left and right seats, and any raised or unusually close seating. A tall chair, platform wall, sign, or performer standing downstage can hide a seated actor behind it. If a scenic element blocks a key area, lower it, shift it, open a gap, or change the blocking.
Use a ground plan to show the audience boundary, walls, doors, platforms, steps, furniture, entrances, and major movement paths. A plan does not need elaborate artwork. It needs accurate scale, labels, and enough information for the director, actors, stage manager, and builders to make the same decisions.
Set design: script needs, furniture, focal points, and traffic routes
Good set design starts with the script rather than with attractive scenery. Read the play for what must happen physically, where characters come from, what they touch, what they carry, and what changes between scenes.
- Extract the script requirements. List every named room, door, window, staircase, table, chair, prop surface, entrance, exit, reveal, and scene change. Note actions such as hiding, embracing, climbing, sitting, fighting, eating, or opening a door.
- Fit the design to the dimensions. Draw the usable stage at scale. Reserve space for wings, backstage access, technical equipment, and audience clearance before placing decorative elements.
- Place entrances and exits. Give each script-required route a believable destination. Separate busy entrances when possible so performers do not queue in one wing or cross through an active scene.
- Choose levels and focal areas. Decide where the audience should look during major moments. A platform, open doorway, central table, or downstage area can establish focus, but avoid making every scenic element equally prominent.
- Place furniture around action. Position a table, desk, sofa, or chair where it supports the scene without narrowing movement routes. Leave enough room to sit, stand, turn, cross, and reach essential props.
- Draw traffic routes. Mark each actor’s path with arrows. Include entrances, exits, crosses, pauses, and destinations. Separate routes that happen simultaneously, and identify points where performers might face away from the audience.
- Check sightlines and focus. Review the plan from multiple seats and with performers standing or sitting in each important position. Keep faces, gestures, and key objects visible during major beats.
For example, a small office scene might use a stage-right door for arrivals, a desk slightly upstage of center, two visitor chairs downstage left, and a window or filing cabinet upstage right. The desk provides a focal point, but it should not form a wall between the seated visitors and the audience. A diagonal arrangement can create more open sightlines than a straight row.
Furniture should also support character movement. If one character must circle the desk during an argument, leave a continuous route around it. If another character must observe silently, provide a visible position that does not interrupt the main exchange. Mark furniture locations on the floor during rehearsal so actors learn the exact boundaries early.
Test movement, focus, and scene changes
Test the plan in the order the audience will experience it: entry, movement, focus, and transition. A drawing can look balanced while failing in motion.
- Walk every route. Have performers enter from each designated side, reach their marks, cross the stage, use the furniture, and exit. Check spacing at normal speed and at the fastest scripted pace.
- Test shared traffic. Run two or more entrances at once. Confirm that performers can pass safely and that one actor does not force another into a blind spot or blocked exit.
- Check audience focus. Stage a major line or action in each zone. Look for competing furniture, bright openings, tall scenery, or unnecessary movement that pulls attention away from the intended focal point.
- Review body angles. Actors should be able to face one another while remaining sufficiently open to the audience. A small adjustment in chair angle or table placement can preserve both relationship and visibility.
- Run transitions at performance speed. Time furniture shifts, curtain changes, prop handoffs, lighting changes, and performer entrances together. Identify what must move, who moves it, and where each item waits before and after the change.
- Keep routes clear during changes. Mark storage positions in the wings and avoid placing scenery where it blocks an entrance needed immediately after the transition.
A useful final test runs the scene from three viewpoints: a seat at audience left, a seat at audience right, and a central seat. Confirm that stage left and stage right remain clear in the blocking notes, that the main action stays visible, and that each transition leaves the stage ready for the next beat. Revise the layout when a route is unsafe, a focal point is hidden, or a scene change takes longer than the script allows.