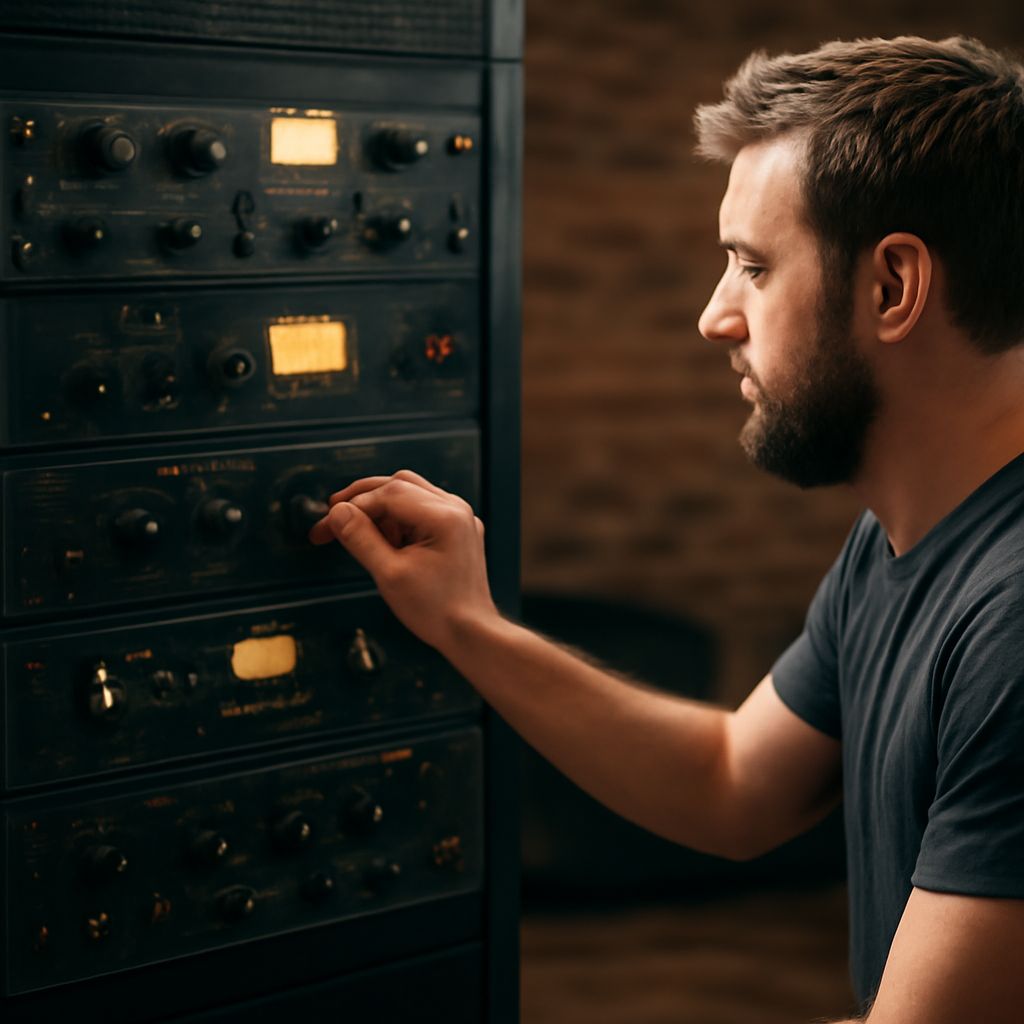
A functional home studio needs four things: a suitable recording space, a source such as a voice or instrument, a way to capture that source, and a way to hear the result. The core setup is usually a microphone, audio interface, computer with a DAW, headphones, and the cables and stands that connect them.
A complete starter signal chain is: voice or instrument → microphone → XLR cable → audio interface preamp and converter → USB cable → computer and DAW → interface converter → headphones or monitors. Each component has a specific job, so the best recording studio equipment is the equipment that fits your source, room, and workflow.
Home studio essentials: match the source and room to the job
Define the recording job before buying equipment. A solo podcast, spoken-word video, vocal session, acoustic guitar recording, and multi-microphone band setup have different input and monitoring needs.
- Voice and podcasts: One microphone, one interface input, closed-back headphones, a stand, and a pop filter are enough to begin.
- Vocals and acoustic instruments: A condenser microphone can capture more detail, but it also captures more room sound. Use it only when the room is reasonably quiet and controlled.
- Electric guitar or bass: Add an interface with a high-impedance instrument input, often labeled “Hi-Z” or “instrument.” You can record directly through amp simulation software or place a microphone in front of a real amplifier.
- Music with several performers: Choose an interface with enough microphone, line, or instrument inputs to record the sources at the same time. Extra inputs are more useful than premium conversion if the basic setup cannot accommodate the performers.
Room choice matters as much as microphone choice. Use the quietest room available, away from traffic, heating systems, refrigerators, and computer fans. A smaller furnished room often works better than a large empty room because furniture and soft surfaces reduce strong reflections.
Position the microphone away from walls and corners when possible. Face a less reflective part of the room, and keep the performer a consistent distance from the microphone. A dynamic microphone such as the Shure SM58 or Rode PodMic is often forgiving in an untreated room. A condenser such as the Audio-Technica AT2020 or Rode NT1 can deliver more high-frequency detail, but it rewards better room control.
Choose essential recording studio equipment: microphone, interface, and monitoring
Microphone: Select the microphone for the source and room, not for its price or popularity. Dynamic microphones handle loud sources and untreated rooms well. Condenser microphones provide sensitivity and detail for vocals, acoustic instruments, and controlled spaces. A microphone is essential; owning several microphone types is an upgrade.
Audio interface: The interface connects microphones and instruments to the computer. Its preamp raises a microphone’s low-level signal, phantom power supplies compatible condenser microphones, and its analog-to-digital converter turns the signal into data the DAW can record. During playback, the interface’s digital-to-analog converter sends the recorded signal to headphones or monitors.
For one person recording one source, a one- or two-input interface is usually sufficient. The Focusrite Scarlett 2i2, Audient iD4, and MOTU M2 are examples of compact interfaces with microphone preamps and direct monitoring. Choose more inputs for stereo microphones, drum kits, multiple musicians, or separate podcast guests.
Computer and DAW: The computer stores and processes the recording. A digital audio workstation such as Reaper, Logic Pro, Ableton Live, GarageBand, or Pro Tools records, edits, and mixes the tracks. The DAW is essential to a computer-based setup, but you do not need expensive plug-ins to make a clean first recording.
Monitoring: Closed-back headphones are the essential first choice because they prevent the microphone from capturing playback. Sony MDR-7506 and Audio-Technica ATH-M50x are common examples. Headphones also work well in a small or reflective room.
Studio monitors are useful for mixing because they let you hear stereo balance and low-frequency detail without the pressure created by headphones. They are an upgrade for a basic voice setup, but they become more valuable for music production. Place them symmetrically at ear level and away from the wall, then add room control before making critical mix decisions.
Add recording gear, stands, cables, and acoustic control: essentials vs upgrades
The small accessories below determine whether the core setup is stable, quiet, and easy to use.
- Microphone stand: Essential. A floor stand or sturdy boom arm keeps the microphone at a consistent height and distance.
- Pop filter or foam windscreen: Essential for close vocal and podcast work. A pop filter reduces bursts of air from “p” and “b” sounds; it does not improve a poor room.
- XLR microphone cable: Essential for most studio microphones. Use a correctly wired, shielded cable long enough to avoid tension, but do not coil excess cable tightly around power supplies.
- USB, USB-C, or Thunderbolt cable: Essential for connecting the interface to the computer. Use the connection specified by the interface manufacturer.
- Instrument cable: Essential when connecting guitar, bass, keyboard, or other line-level equipment directly to the interface.
- Headphone adapter and extension: Useful when the interface uses a quarter-inch headphone output or the performer needs more distance from the computer.
- Shock mount: Optional. It helps reduce vibrations from a desk or stand, but a stable stand and careful handling may be enough.
- Reflection filter: Optional and limited. It may reduce some nearby reflections, but it cannot replace proper room treatment.
Acoustic treatment and soundproofing are different. Treatment controls reflections inside the room with absorption panels, bass traps, rugs, curtains, and suitable furniture. It makes recordings and monitoring more balanced. Soundproofing limits sound entering or leaving the room and generally requires construction changes such as added mass, sealed gaps, and improved doors or windows. Acoustic panels will not stop street noise or prevent a loud amplifier from disturbing another room.
For voice or podcast work, a quiet corner, microphone, stand, pop filter, interface, headphones, and a few absorption panels are the essential package. A boom arm, second microphone, hardware compressor, and broadcast-style dynamic microphone are upgrades.
For music, add instrument inputs, studio monitors, a larger interface, and additional microphones only when the recording plan requires them. A MIDI keyboard, monitor controller, outboard preamp, external compressor, and dedicated headphone amplifier can improve a larger workflow, but none is necessary for a first vocal, guitar, or overdub session.
Connect the chain, set levels, and test your first take
- Prepare the room and source. Close windows, silence unnecessary fans, place the performer away from corners, and position the microphone on its stand. Put the pop filter between the performer and microphone, usually several inches from the capsule. Keep the performer’s mouth a consistent distance from it.
- Connect the input. Plug the microphone into an interface microphone input with the XLR cable. Connect a guitar or bass to an instrument input when recording directly. Turn phantom power on only when the microphone requires it, such as most condenser microphones.
- Connect the interface and monitoring. Connect the interface to the computer, select it as the input and output device in the DAW, and plug headphones into the interface. Use direct monitoring if available to hear the input with little or no delay.
- Create and arm a track. Select the correct interface input, choose mono for one microphone, and enable record monitoring if you need to hear the live signal. A stereo track is appropriate for a stereo microphone pair or stereo keyboard output.
- Set the preamp gain. Ask the performer to deliver the loudest expected passage, then raise the interface gain until the DAW meter peaks around -12 to -6 dBFS. Leave headroom for unexpected volume. A red clip indicator or a flat-topped waveform means the input is too loud; lower the preamp gain and record again.
- Record a short test. Capture silence, normal performance, and the loudest passage for about 20 to 30 seconds. Listen for hum, crackle, fan noise, room echo, plosives, distortion, and distracting headphone bleed.
- Fix the cause before recording the session. Move the microphone or performer to reduce reflections, rotate or replace a noisy cable, lower gain to stop clipping, and adjust the headphone level rather than the microphone gain. If the recording is clean but delayed in the headphones, use direct monitoring or reduce the DAW buffer size.
The first successful test has a clean waveform with visible headroom, an understandable source, no unwanted clipping, and monitoring that does not feed back into the microphone. Once those conditions are met, save the session settings as a template and record the full take.