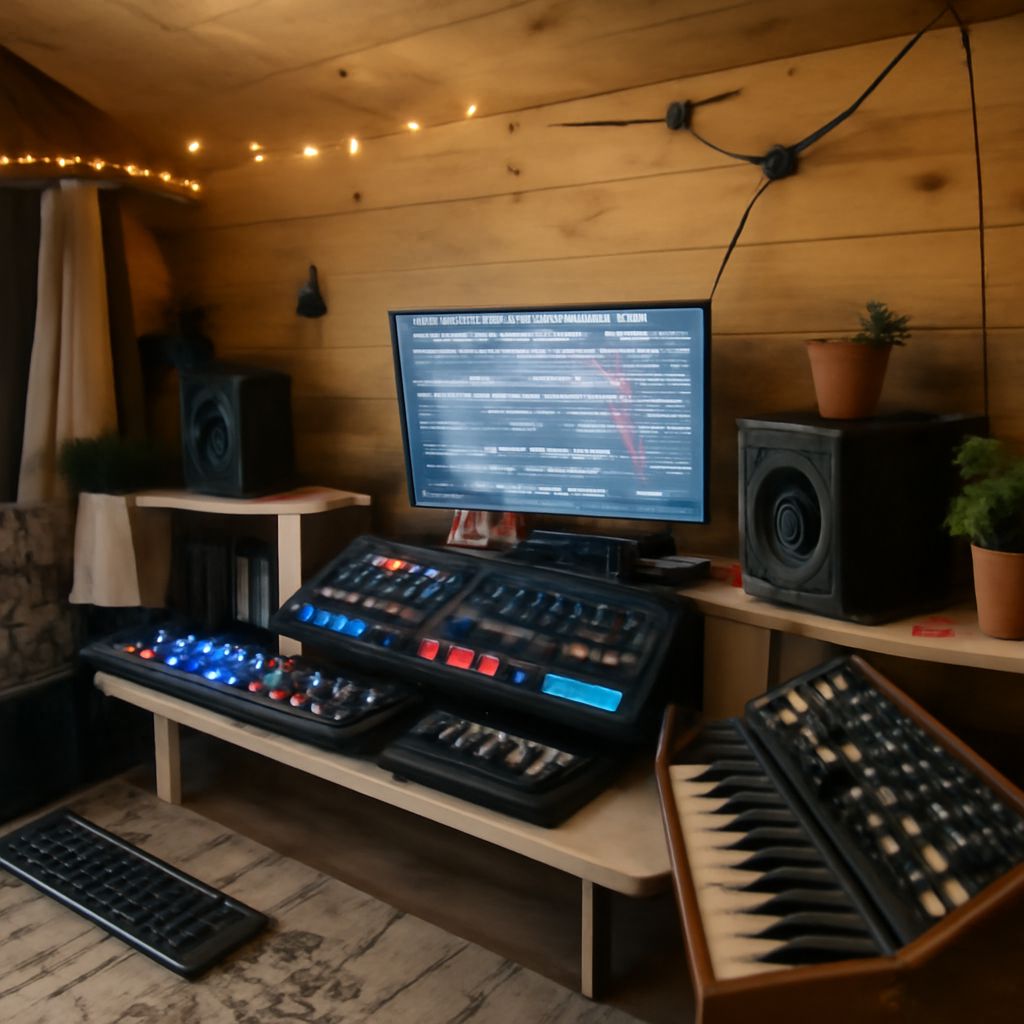
The best home recording software is the program that matches your inputs, computer, monitoring setup, and music-making process. A singer recording one microphone needs a simpler system than a producer layering virtual instruments, live drums, and multiple vocal takes.
Start with the room and signal flow, then buy the hardware that supports the work. For a PC studio, Reaper, Cakewalk, Studio One, Ableton Live, FL Studio, and Pro Tools offer different balances of cost, editing power, routing, instruments, and learning time.
Building a home recording studio starts with your goal, room, and signal flow
Define the first recording task before choosing equipment. A basic vocal-and-guitar setup needs one or two inputs, while a band, drum kit, or podcast with several speakers may need four to eight inputs. Electronic producers may need only a MIDI keyboard and one stereo interface input.
Use this signal path as the foundation:
- Source: microphone, guitar, keyboard, drum machine, or other instrument.
- Connection: XLR microphone cable or instrument cable into the interface.
- Interface: converts the analog signal into digital audio for the PC.
- Computer and software: records, edits, processes, and routes the audio.
- Monitoring: sends playback to headphones or studio monitors through the interface.
Choose the quietest practical room rather than the largest room. Keep the microphone away from computers, refrigerators, traffic-facing windows, and hard parallel walls. A bedroom can work if you control reflections and place the microphone away from corners.
Acoustic control does not require covering every surface with thin foam. A thick rug can reduce floor reflections, while heavy curtains and bookshelves help break up high-frequency reflections. Use broadband absorption panels at the first-reflection points beside the listening position and behind the monitors when possible. Leave some reflective surface in the room so recordings do not sound unnaturally dull.
Plan two listening positions: headphones for tracking and detailed editing, and monitors for judging balance. Place the monitors at ear height in an equal-sided triangle with your head. Keep them several inches from the wall, follow the manufacturer’s placement guidance, and use isolation pads or sturdy stands.
Assemble the input, interface, computer, and monitoring chain
A functional starter system needs a source, an audio interface, a PC, monitoring, cables, a stand, and basic acoustic control. Buy the interface before selecting software because its inputs, drivers, headphone outputs, and direct-monitoring features determine how comfortably the studio works.
- Microphone or instrument: A dynamic microphone is forgiving in an untreated room and works well for vocals, guitar amps, and spoken voice. A condenser microphone captures more detail but also captures more room noise. Electric guitar and bass can connect directly to an interface’s high-impedance instrument input.
- Audio interface: Choose at least one microphone preamp for a solo setup and two inputs for simultaneous vocal-and-instrument recording. Look for phantom power for condenser microphones, direct monitoring for low-latency tracking, and balanced monitor outputs.
- Computer: A modern Windows PC with an SSD, 8GB of RAM, and a recent multi-core processor can handle basic recording. Choose 16GB of RAM and more storage for large sample libraries, many virtual instruments, or video. Keep the project drive and sample libraries organized rather than filling the system drive.
- Monitoring: Closed-back headphones prevent backing tracks from leaking into a microphone. Open-back headphones can sound more natural for editing but are unsuitable for loud vocal tracking. Add powered studio monitors when the room is controlled enough to make speaker decisions useful.
- Cables and stand: Use an XLR cable for a microphone, a balanced TRS or XLR pair for monitors, and a suitable instrument cable for guitar or bass. A stable boom stand, pop filter, and cable clips prevent handling noise and accidental disconnections.
Start with one of three sensible tiers. A compact tier uses one dynamic microphone, a two-input interface, headphones, a stand, and simple room treatment. An everyday tier adds a condenser microphone, monitor speakers, balanced cables, and broadband panels. A growth tier uses four or more inputs, a larger SSD, a second pair of headphones, dedicated monitor stands, and enough acoustic treatment for mixing.
Connect the interface directly to the PC rather than through an unreliable hub. Install the manufacturer’s Windows driver when available, select the interface as both input and output in the recording program, and enable phantom power only when a condenser microphone requires it. Turn phantom power off before changing microphone connections.
Compare music recording software for PC by workflow and total cost
Choose software by the work it must perform, not by the largest feature list. For a low-cost, flexible recording setup, Reaper is a strong starting point. Studio One suits users who want a guided arrangement and mixing workflow. Ableton Live and FL Studio favor loop-based production and electronic music. Pro Tools remains a familiar choice for users who expect to exchange sessions with Pro Tools-based facilities. Cakewalk is worth considering when its current edition and license terms fit your PC workflow.
- Reaper: It runs efficiently on modest PCs, supports large track counts, detailed editing, third-party plugins, custom routing, and flexible templates. Its interface takes some learning, but its low-cost license model keeps total ownership cost comparatively low. Choose it for recording, editing, mixing, and expansion without paying for a large bundled instrument collection.
- Studio One: It provides a clear linear arrangement, comping, editing, notation-related tools, effects, and a straightforward mixer. Its workflow is approachable for a first studio, while higher editions add instruments and production features. Compare the edition’s included plugins and whether the purchase or subscription model suits your long-term budget.
- Ableton Live: Live excels at clip launching, loop construction, electronic production, performance, and fast experimentation. Its Arrangement View also handles conventional multitrack recording. It has a moderate learning curve because Session View, routing, and device chains work differently from traditional tape-style software. Choose it when performance and sound design matter as much as linear recording.
- FL Studio: FL Studio is particularly effective for programmed drums, MIDI composition, sampling, and pattern-based production. Its mixer can record and route audio, but a singer-songwriter may find a linear recording application more immediately familiar. Its edition structure and included instruments affect total cost, so select based on the plugins and track tasks you actually need.
- Pro Tools: Pro Tools offers strong audio editing, playlist-based takes, routing, and compatibility with many professional studios. It is a practical choice for collaborative recording work, but the learning curve and recurring or edition-based costs can be higher. Confirm that the selected version supports your required track count, plugins, and interface workflow.
Check six decision points before installing anything. Confirm Windows compatibility and interface-driver support. Count audio and MIDI tracks, including future projects. Test comping, trimming, fades, pitch or timing correction, and automation. Check whether your required VST or other plugin format is supported. Review buses, sends, headphone mixes, and external routing. Finally, calculate total cost from the license, required instruments, effects, upgrades, and possible subscription fees.
Test the best home recording software in a complete studio session
- Prepare the room: Close noisy windows, silence notifications, place the microphone on its stand, attach the pop filter, and position the performer away from reflective corners.
- Create the project: Set the interface as the PC software’s input and output device. Use 24-bit recording and a 44.1 or 48 kHz sample rate. Create one mono audio track for the microphone and name it before recording.
- Set the input: Have the performer play or sing at the loudest expected level. Raise the interface gain until the software meter peaks around -12 to -6 dBFS. Never let the meter reach 0 dBFS, which causes clipping.
- Set monitoring: Use direct monitoring for a dry, immediate signal, or software monitoring when the performer needs reverb or plugins. If software monitoring produces an obvious delay, lower the buffer size or use direct monitoring. Keep the headphone level comfortable.
- Record a test: Capture 20 to 30 seconds of speech, singing, or instrument performance. Stop and listen for hum, crackle, distortion, room echo, cable noise, and unwanted computer fan sound.
- Edit and mix: Trim the start and end, add a short fade, split one phrase, duplicate the track, and apply a basic high-pass filter or reverb send. Pan the duplicate slightly and lower its level. These actions test editing, plugins, routing, and monitoring rather than recording alone.
- Export and verify: Export a WAV file, play it through headphones and monitors, and confirm that the file begins and ends cleanly. A successful test has clear audio, no clipping, stable playback, usable latency, and a saved project that reopens with its interface and plugin settings intact.