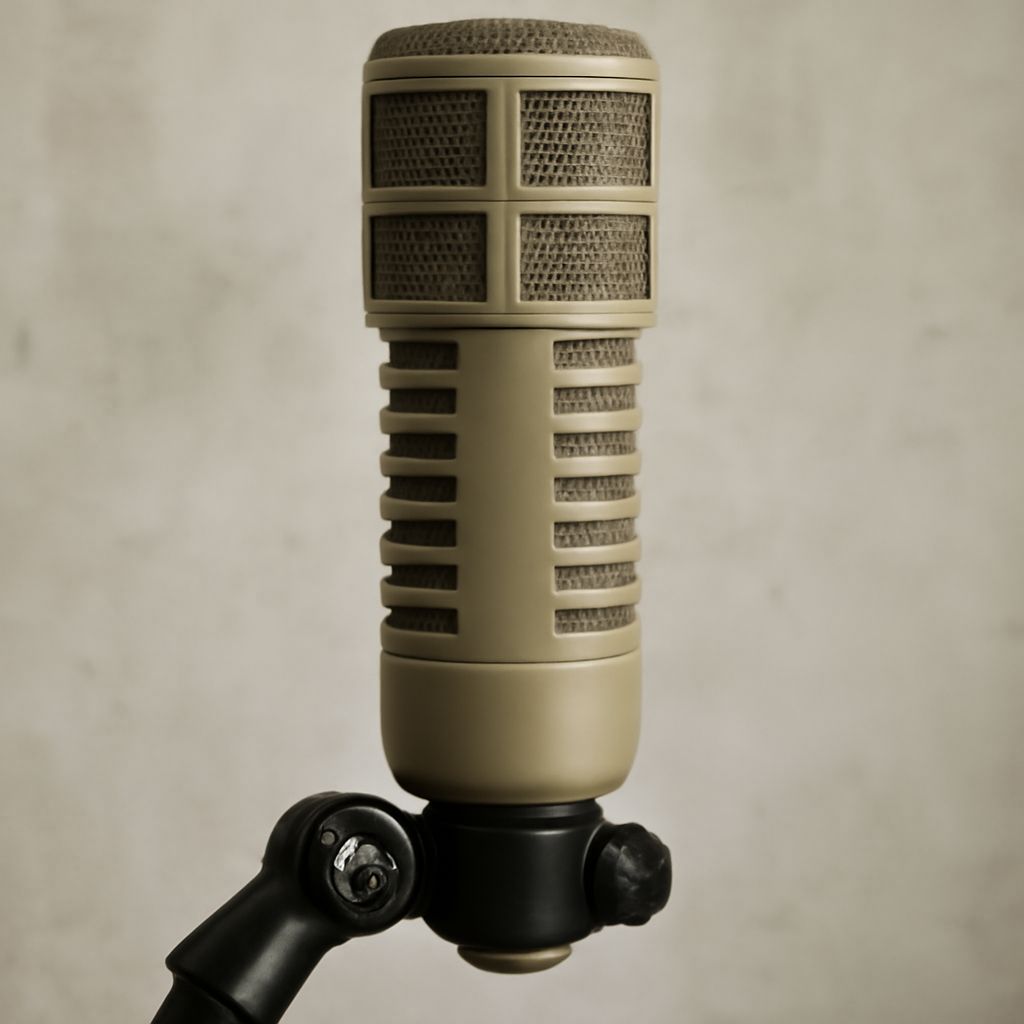
The best microphones for voice over depend on your room, voice, interface, and recording workflow more than on brand prestige. For most quiet, treated rooms, a low-noise condenser such as the RØDE NT1 is the strongest starting point. For reflective or noisy rooms, a dynamic microphone such as the Shure SM7B or Shure MV7+ usually produces a cleaner result.
Choose an XLR microphone if you already have a suitable interface and want upgrade flexibility. Choose USB if you need a direct, simple setup. In every case, room reflections, microphone technique, gain quality, and headphone monitoring can matter more than the microphone’s price.
What the best microphones for voice-over need to capture
A voice-over microphone should capture clear consonants, controlled low frequencies, natural vocal tone, and enough detail for editing without exaggerating room noise. Evaluate every microphone using the same core criteria.
- Polar pattern: A cardioid pattern is the usual choice because it focuses on the front of the microphone and rejects some sound from behind. It does not eliminate reflections arriving from the sides, ceiling, desk, or wall behind you. Position the microphone so its least sensitive area faces the loudest unwanted sound.
- Sensitivity: Sensitivity describes how much output a microphone produces from a given sound level. Condensers are generally more sensitive than dynamics, so they need less preamp gain but capture more of the room. A less-sensitive dynamic can reduce the apparent effect of distant reflections, but it needs a stronger, cleaner preamp.
- Self-noise: A microphone with low self-noise keeps quiet narration and pauses cleaner. This matters most when you record close, quiet reads or plan to process the voice heavily. Interface hiss, computer fans, and room noise can still be louder than the microphone’s own noise.
- Plosives: P, B, and other burst consonants can overload a capsule. Use a pop filter or foam windscreen, aim the microphone slightly off-axis, and avoid speaking directly into the capsule. Built-in protection helps but does not replace technique.
- Room reflections: A detailed microphone also records early reflections that make speech sound boxy or distant. Soft furnishings and absorption behind and beside the performer usually help more than changing between expensive microphones.
Microphone technique should remain consistent. Start with the capsule about 15 to 20 centimetres from your mouth, place a pop filter several centimetres in front of it, and speak slightly across the capsule rather than directly into it. Keep your distance stable while turning your head as little as possible. Move slightly farther away for louder passages instead of relying on the input gain to prevent clipping.
Dynamic, condenser, USB, and XLR: choosing the best voiceover mic
Microphone type determines how much of the room you hear and what equipment you need around it.
- Dynamic: Dynamics are usually less sensitive and tolerate high sound pressure. Their close-working style can help in untreated rooms, although proximity effect may add bass when you work very close. They use XLR in most voice-over setups and need an interface with enough clean gain.
- Condenser: Condensers generally deliver more detail and a more open high end. They are often the best choice in a quiet, treated room, but their sensitivity exposes computer fans, traffic, HVAC noise, and reflections. XLR condensers need 48-volt phantom power.
- USB: A USB microphone includes its own preamp and converter, so it connects directly to a computer. This reduces equipment and setup cost. Check that it offers a headphone output with direct monitoring, useful gain controls, and a stable connection for your computer and recording software.
- XLR: XLR microphones require an audio interface or mixer, but they make it easier to replace the preamp, add another microphone, and integrate hardware. The interface must provide clean gain, phantom power when required, and a headphone output with controllable monitoring.
Headphone monitoring should be clear and free from distracting delay. For USB recording, use the microphone’s direct-monitoring control when available. For XLR recording, monitor from the interface rather than routing the signal through software with noticeable latency. Set peaks around -12 to -6 dBFS while recording, leaving room for natural changes in vocal volume.
Find the best microphone for voice-over by room, budget, and workflow: Shure SM7B, RØDE NT1, Shure MV7+, and Audio-Technica AT2020USB-X
These four models cover the most practical setup paths. The best microphone for voice over in a treated studio may be a poor choice in a reflective bedroom, so match each option to the conditions below.
Shure SM7B: the reflective-room XLR choice. This dynamic cardioid microphone has relatively low sensitivity and needs a strong, quiet interface, often with around 60 dB of clean gain available. Its self-noise is rarely the limiting factor; preamp hiss becomes the concern if the interface is underpowered. The built-in windscreen helps with plosives, but a close, slightly off-axis technique is still important. The SM7B rejects some room sound better than a sensitive condenser and suits a treated or moderately imperfect room. Choose it when you already have an XLR interface or are prepared to budget for sufficient gain.
RØDE NT1: the quiet-room condenser. The cardioid condenser captures a detailed, natural voice and is a strong choice when the room is quiet and reflections are controlled. The fifth-generation NT1 has very low published self-noise and can connect by XLR or USB, giving it more workflow flexibility than a conventional XLR-only condenser. XLR use requires 48-volt phantom power; USB use moves the preamp and conversion into the microphone. Its higher sensitivity also captures room problems and plosives clearly, so use a pop filter, sensible distance, and acoustic treatment. It is the best fit for polished studio-style narration in a controlled space.
Shure MV7+: the adaptable home-studio dynamic. This cardioid dynamic offers XLR and USB-C connectivity, plus a headphone output for monitoring. Its USB controls and built-in processing can simplify level management and voice shaping, while XLR keeps an upgrade path open. As with the SM7B, the dynamic capsule and close technique can reduce the prominence of room reflections, but the microphone still needs a pop filter or careful off-axis placement. Self-noise is less likely to dominate than interface gain and background noise. Choose the MV7+ for a home office, changing locations, or a beginner who wants USB simplicity without giving up XLR later.
Audio-Technica AT2020USB-X: the straightforward USB condenser. This cardioid condenser is designed for direct computer recording and includes a headphone output for monitoring. It delivers the detail expected from a condenser, but its sensitivity makes a quiet room and controlled reflections important. Use a pop filter and keep the same 15-to-20-centimetre working distance throughout a read. It does not require a separate interface, although the USB connection means your upgrade path is centered on the microphone rather than an interchangeable XLR signal chain. Choose it for entry-level narration, streaming, or a simple desktop workflow in a reasonably quiet room.
- Untreated or noisy room: Start with the Shure MV7+ if you want USB and XLR, or the SM7B if you already own a capable interface.
- Quiet, treated room: Choose the RØDE NT1 for detailed narration and low self-noise.
- Simple USB setup: Choose the Audio-Technica AT2020USB-X for a direct condenser workflow, or the MV7+ when room rejection is more important.
- Long-term XLR workflow: Choose the SM7B for a close, controlled dynamic sound or the NT1 for more open condenser detail.
A voice test before you buy: same distance, same read, same mix
Test a microphone in the room where you will actually record. A shop demo or heavily processed online sample cannot show how the model interacts with your voice, desk, walls, and interface.
- Set the position: Mount each microphone at the same height and distance, ideally 15 to 20 centimetres away, with the same pop filter and off-axis angle. Do not compare one microphone close to your mouth with another placed across the desk.
- Record room tone: Capture at least 20 seconds of silence with the computer, ventilation, and other normal equipment running. Listen for hiss, hum, fan noise, and changing background sounds.
- Read the same script: Include plosive words such as “Peter Piper,” fricatives such as “fish” and “six,” soft pauses, loud phrases, and a lower-pitched passage. Keep your delivery and microphone distance consistent.
- Match recording levels: Adjust the clips to the same perceived loudness before comparing them. A louder recording often sounds better even when the microphone is not better. Check that peaks remain below clipping.
- Compare raw and processed audio: First listen without EQ, compression, noise reduction, or de-essing. Then apply the same light processing to every recording. Check intelligibility, bass buildup, harshness, room reflections, plosives, and the amount of noise between phrases.
- Test the complete chain: Confirm that the interface provides enough clean gain, phantom power where required, and comfortable headphone monitoring. The right microphone is the one that produces a clean, usable voice with your normal technique and minimal corrective processing.