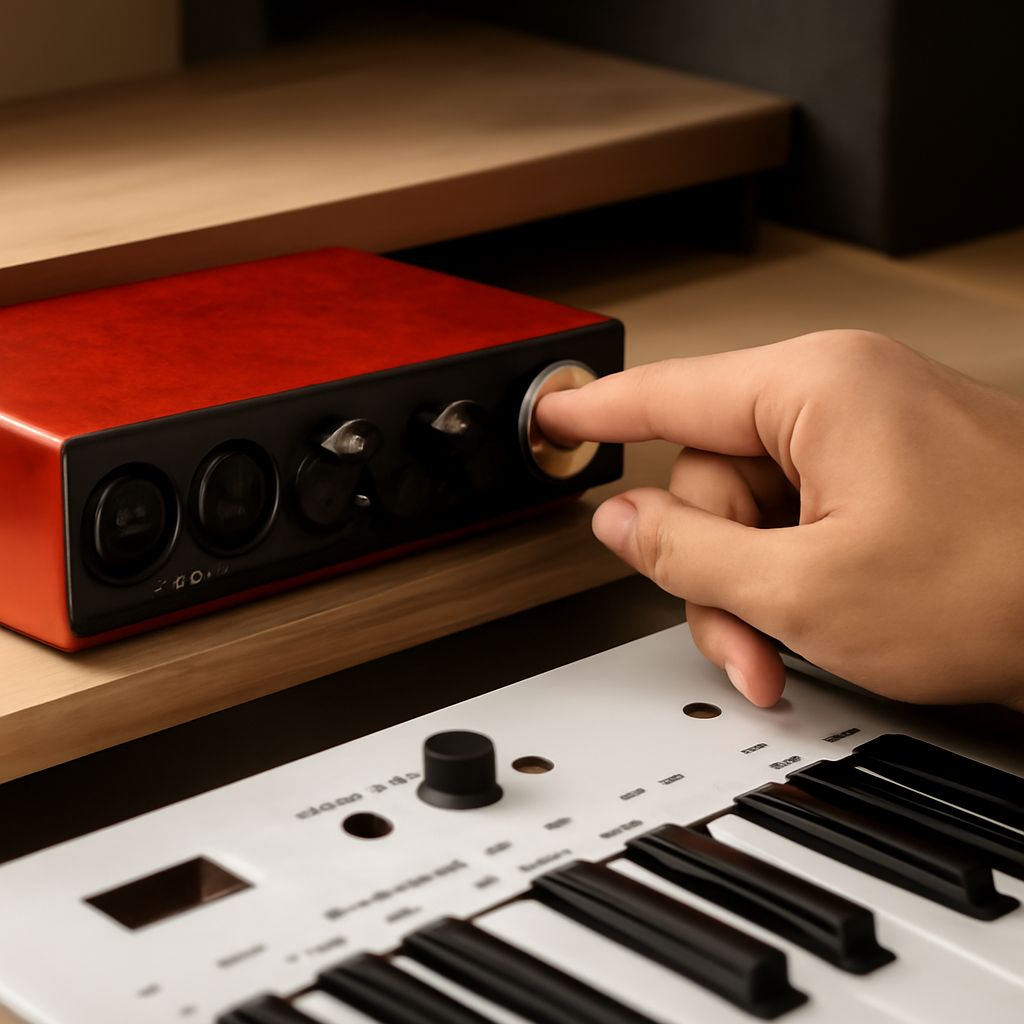
A Mac podcast studio starts with the right recording hardware, not the most expensive gear. Build around the number of people you record, the room you use, and how much portability you need. For a solo show, a single mic and a compact interface can be enough. For two hosts or a guest, a 2- or 4-input audio interface for Mac with proper headphone monitoring is the safer choice.
The practical goal is simple: capture clean voice on separate tracks, hear yourself without distracting delay, and verify that the full chain from microphone to playback works before the first episode.
Define your podcast format, input count, and monitoring setup
Start with the show format. A solo host needs one microphone input, one headphone output, and basic direct monitoring. A host plus guest needs at least two mic inputs and ideally two headphone outputs or a small headphone amp. A roundtable podcasting studio with three or four speakers usually works best with a 4-input interface, even if you do not fill all inputs on day one.
Choose extra capacity if you want a remote guest, a second room mic, or a computer audio feed. A 2-input interface can be enough if you only ever record one person at a time, but it becomes cramped once you need separate tracks or independent headphone mixes. If two speakers need different headphone levels, look for an interface with multiple headphone outs or plan on a headphone amplifier.
Connection type matters on Mac. USB-C interfaces are the default and often bus-powered, which helps portability. Thunderbolt interfaces make sense for larger setups, more channels, or very low latency, but only if the Mac and interface both support it. Many USB interfaces are class-compliant on macOS; others use a vendor control app or driver for routing and mixer control, so check support before buying. Do not assume every Mac needs the same setup.
Choose microphones, headphones, stands, and cables
The microphone choice depends on the room. Dynamic microphones handle untreated rooms better because they reject more background noise and room echo. Condenser microphones capture more detail but ask more from the room and the speaker technique. For most spoken-word shows, a dynamic mic close to the mouth is the easiest path. For a treated room and a softer voice, a condenser can sound more open.
Common, proven options include a Shure SM58 or Rode PodMic for simple voice capture, an Electro-Voice RE20 or Shure SM7B for more controlled broadcast-style speech, and an Audio-Technica AT2020 or Rode NT1 for a quieter, more detailed room. Pick the mic that matches your space first, then the tone you want.
- Microphones: one per speaker, plus pop filters or windscreens to reduce plosives.
- Headphones: closed-back models such as the Sony MDR-7506, Audio-Technica ATH-M50x, or Beyerdynamic DT 770 Pro to keep bleed out of the mics.
- Stands: boom arms for desk use or stable desktop/floor stands if the table shakes when people type or lean on it. Add shock mounts if the stand passes vibration into the mic.
- Cables: balanced XLR cables for microphones, a certified USB-C or Thunderbolt cable for the interface, and a spare cable for each critical connection.
Keep cable runs practical. Buy the right length instead of coiling excess cable under the desk. Route audio cables away from power bricks, monitor cables, and USB hubs where possible. If you expect frequent setup changes, label each XLR cable by mic position so the left seat and right seat do not get swapped between sessions.
Set up the audio interface for Mac
Connect the interface to the Mac with the cable the unit ships with or a certified replacement. USB-C is common on current interfaces; Thunderbolt is worth using when the interface and Mac both support it and you need more channels or lower latency. Then install the manufacturer’s control app or driver only if the interface requires it for routing, mixer control, or firmware updates.
Open macOS sound settings and select the interface as both the input and output device. Then open your recording software and choose the same interface there. GarageBand, Logic Pro, Reaper, and Audacity can all work for a simple podcasting studio if they can arm separate tracks for each microphone.
Set the gain before you record. Speak at normal volume and raise each preamp until the loudest phrases sit well below clipping. A practical target is peaks around -12 to -6 dBFS, with plenty of headroom for laughter and emphasis. If the interface has a clip light, keep it dark.
Use phantom power only for condenser microphones that need it. Leave it off for dynamic microphones unless the manufacturer specifically says otherwise. For monitoring, use direct monitoring when possible so the host hears the live mic signal without software delay. If you need plug-ins or software monitoring, keep the buffer low enough for tracking and raise it later when mixing.
For one speaker, a single headphone output is enough. For two or more, choose an interface with two independent headphone mixes or use a powered headphone amp. Each speaker should hear enough of their own voice to stay relaxed without hearing a delayed echo. If the interface software includes a mixer, save a dedicated podcast preset with the correct input routing, monitor blend, and output levels.
Run a first-session test for levels and multitrack recording
- Arm separate tracks. Create one track per microphone and confirm each input feeds only its own track. Speak into one mic at a time and watch the meters.
- Check clipping headroom. Deliver your loudest normal line, then a short laugh or emphasis. Peaks should stay below 0 dBFS, and the interface should not show clip warnings.
- Listen for room noise. Record 10 seconds of silence with everyone seated. Play it back and listen for HVAC, computer fan noise, desk bumps, cable hum, or traffic bleed. If the noise floor is high, move the mic closer, reduce gain, or quiet the room before the next take.
- Test latency. Monitor through headphones while speaking the same line twice, once with direct monitoring and once with software monitoring. If the second pass sounds late or distracting, lower the buffer or switch back to direct monitoring for tracking.
- Verify playback and channel assignment. Stop recording, then play the session back from the start. Confirm each voice appears on the correct track, the balance is even, and no track contains unexpected bleed or USB routing mistakes.
If any step fails, change one thing at a time and test again. Move the microphone closer before adding gain. Swap a noisy cable before changing software settings. Lower the buffer only after the system already records cleanly. Once the chain passes this session, save the template so the next episode starts with the same input count, monitoring setup, and track layout.