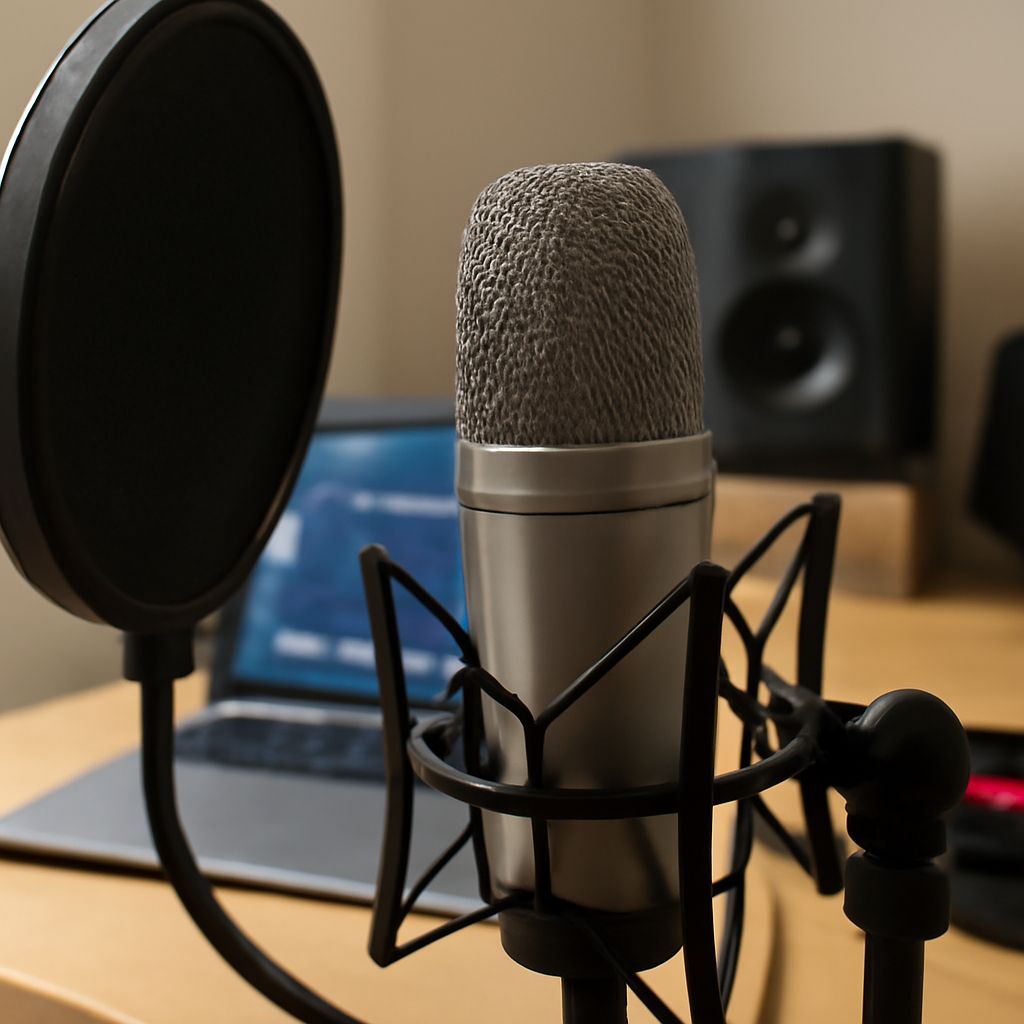
The best microphones for voice acting are not always the most expensive ones. For a beginner, the right voice over mic is the one that fits the room, the workflow, and the kind of sample you need to record this month.
If you are just learning how to get into voiceover work, start with clean performance, simple editing, and a setup that lets you hear problems quickly. Microphone choice comes after that, because a great mic in a noisy room can sound worse than a modest mic in a controlled space.
How to get into voice-over work in four steps
Begin with a narrow, practical path. Early voice-over work is usually about short commercial reads, e-learning lines, internal training, or simple narration. Those jobs reward clarity, timing, and reliability more than a flashy sound.
- Choose one starter lane. Pick commercial, narration, or e-learning first. That keeps your practice focused and helps you build samples that sound consistent.
- Set up a usable recording space. A quiet closet, a heavy curtain, or soft furnishings around the mic will help more than buying a premium model too early. Turn off fans, dim noisy lights, and record when the room is calm.
- Practice performance and editing together. Read scripts aloud, mark pauses, and learn basic cleanup in your recording software. You need to sound natural and also know how to trim breaths, clicks, and long silences.
- Create small samples and ask for feedback. Record short clips, send them to a coach or working voice actor, and revise before chasing auditions. Early improvement comes from repetition, not from trying to build a final demo on day one.
This sequence matters because voice-over progress is cumulative. A beginner who can record clean audio, read clearly, and deliver a usable file will move faster than someone who owns expensive gear but cannot control noise or pacing.
Best microphones for voice acting: USB vs. interface-based options
For most beginners, the choice comes down to convenience versus flexibility. USB mics are easier to start with. XLR mics with an audio interface give you more control, a better upgrade path, and usually better results in a room you can manage well. The best microphones for voice acting are the ones that match your room and your next six months of work.
USB mics are the simplest path when you need to record quickly. A model like the Shure MV7 or Samson Q2U is a strong beginner choice because both are dynamic, cardioid mics that reject more room noise than a typical condenser mic. The Rode NT-USB Mini is compact and easy to use, but like many USB condensers, it can reveal more room reflection and background noise.
- Room sensitivity: Dynamic USB mics handle untreated rooms better. Condenser USB mics capture more detail, including echo and computer noise.
- Pickup pattern: Cardioid is the practical standard for voice-over because it focuses on the speaker and reduces sound from the sides and rear.
- Monitoring: Many USB mics include a headphone jack for direct monitoring, which helps you hear plosives, hiss, and room tone as you record.
- Noise: USB setups are convenient, but the mic may sit closer to noisy electronics or a laptop fan. A quiet room still matters.
- Budget: A good USB starter setup can stay under about $100 to $250 and get you recording fast.
- Upgrade path: Hybrid mics such as the MV7 or Q2U can move from USB to XLR later, so the mic does not become useless when you upgrade.
Interface-based setups make more sense when you want more headroom for growth. A solid beginner chain might be an Audio-Technica AT2020 or Rode NT1 paired with a simple interface such as a Focusrite Scarlett Solo or Audient iD4. This route usually costs more up front, but it gives you a cleaner upgrade path and more microphone choices later.
- Room sensitivity: XLR condenser mics capture detail and can sound excellent in a treated room. In a noisy room, a dynamic XLR mic can be the safer choice.
- Pickup pattern: Cardioid remains the best starting pattern for voice-over because it keeps the voice forward and controlled.
- Monitoring: Interfaces offer direct monitoring through headphones, which is useful for checking levels without delay.
- Noise: A good interface can reduce hiss and improve gain control, but it will not remove fan noise, traffic, or echo from the room.
- Budget: Expect roughly $180 to $350 for a basic mic-and-interface starter chain, more if you add a boom arm, stand, and headphones.
- Upgrade path: This is the best choice if you plan to keep improving the same setup over time, because you can swap the mic, preamp, or interface separately.
A simple rule helps most beginners. If your room is only partly controlled, start with a dynamic USB or hybrid mic. If your room is quiet and you want a setup you can expand, choose an XLR mic with an interface. A more sensitive condenser is only an advantage when the space around it is already under control.
Record a feedback-ready test and build first samples
Before you make a demo, record a short test that exposes your real sound. The goal is not polish. The goal is to create material that someone else can review for tone, clarity, noise, and pacing. That is the fastest way to improve both your read and your voice over mic setup.
- Place the mic properly. Start 6 to 8 inches from the capsule, slightly off-axis, with a pop filter or foam windscreen in place. Speak in a normal voice instead of leaning in and out.
- Record one minute of useful material. Use a short commercial script, a short narration paragraph, or a training-style read. Keep the copy plain so the sound of your voice is easy to judge.
- Leave room tone at the start and end. Record 10 seconds of silence before and after the script. That gives you a reference for hiss, hum, and room reflection.
- Check your levels. Set gain so normal speech is strong and loud lines do not clip. If your software shows meters, keep peaks safely below red. If you clip even once, lower the gain and repeat the test.
- Listen for specific problems. Plosives sound like bursts of air on P and B sounds. Room echo sounds hollow. Mouth noise sounds sticky or sharp. Hiss often points to gain or room issues.
A useful feedback test gives clear answers. Success cue: another listener can understand every word without turning the volume up. Failure cue: the room, not the performance, is the first thing they notice.
Once the test sounds stable, build first samples from two or three short clips rather than one long reel. Keep each clip tight, around 20 to 45 seconds, and match the tone of the work you want next. For early samples, clean narration, friendly commercial copy, and simple explainer reads are more useful than heavily produced audio.
Prepare for auditions and early opportunities
Early auditions go better when you treat them as practice with purpose. Send only the type of read the brief asks for, and make each submission easy to review. Clean audio, a natural performance, and fast turnaround matter more than trying to sound like a finished trailer voice.
- Match the brief exactly. If the script asks for conversational and warm, do not force a bigger announcer style.
- Use the cleanest file format requested. If no format is specified, export a well-labeled WAV or high-quality MP3 with no extra music or effects.
- Keep your chain consistent. Do not change mics, distances, or editing style from one audition to the next unless you are testing something specific.
- Track your results. Note what you auditioned for, what the client liked, and what sounded weak. Patterns show up quickly when you write them down.
- Look for small, repeatable work. Local explainer videos, nonprofit reads, internal training, short ads, and direct outreach to small production companies are realistic early opportunities.
When you start getting replies, use them to improve your setup rather than to chase status gear. If clients say your sound is too roomy, the next step may be room treatment or a less sensitive mic. If they say your read is clear but flat, the answer is coaching or script practice, not a bigger microphone.
Before sending the next audition, check that you have a quiet room, a tested voice over mic, one short sample that matches the job, and a file name that makes sense. That is enough to start competing for early voice-over work without buying gear that your room cannot support.