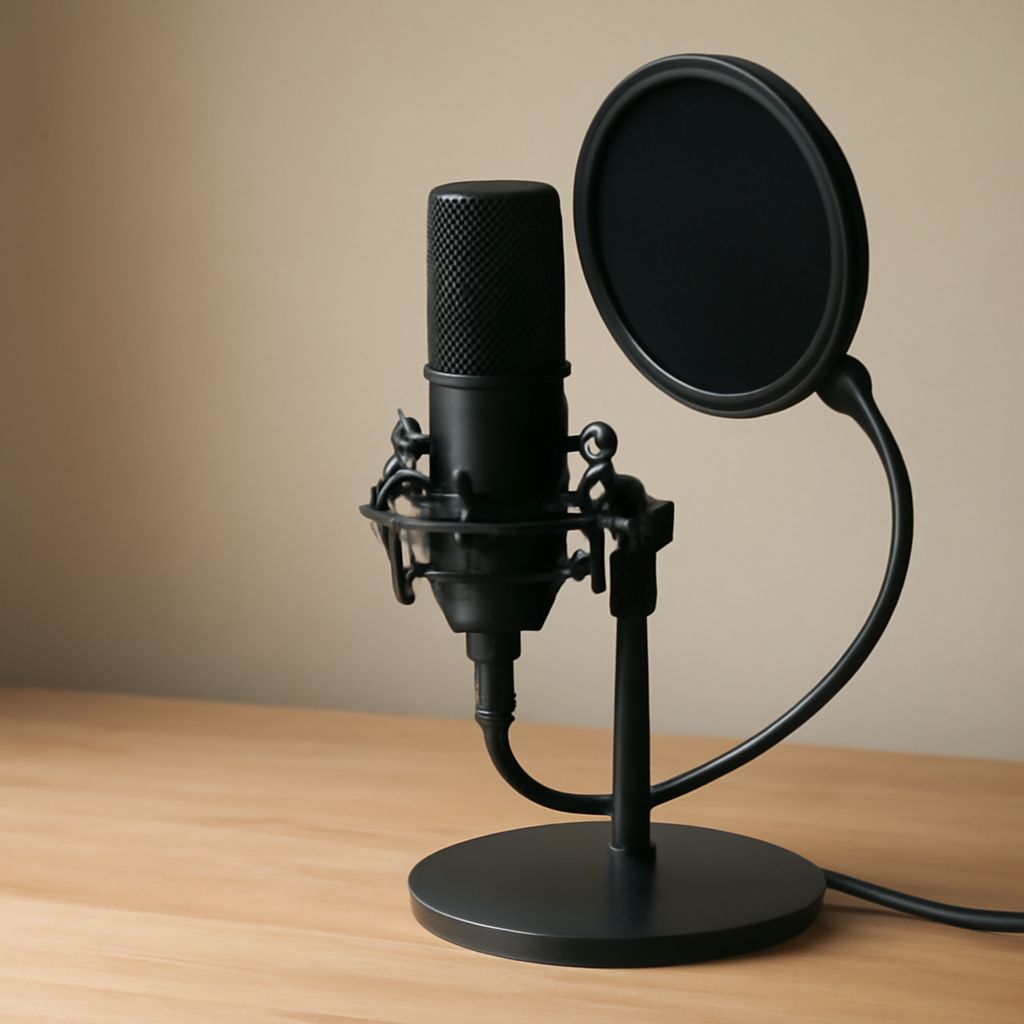
For most beginners, the best cardioid microphone for a cheap USB setup is a dynamic USB cardioid mic with a headphone jack and a stable desk mount. A Samson Q2U or Audio-Technica ATR2100x-USB is usually safer in an untreated room than a low-cost condenser USB mic. If you want a simpler all-USB desk option, the HyperX SoloCast or a basic FIFINE model can work, but they ask more from the room and from placement.
The best cheap usb microphone is the one that stays clean at close distance, rejects room noise, and lets you monitor without delay. Add a pop filter when you speak or sing close to the capsule, then set distance and gain before you judge the mic.
What cardioid and USB mean for a beginner setup
A cardioid pickup pattern hears most of what is directly in front of the mic and less from the sides and rear. That is useful for speech and vocals because it reduces keyboard noise, fan hum, and some room reflections. It does not erase the room. If your space is bare, the mic still hears the sound of the room bouncing back at the front of the capsule.
USB means the microphone has its own audio interface built in. You plug it straight into the computer and record without a separate interface or preamp. That keeps the setup simple, but it also makes the mic’s built-in converter, gain control, and monitoring quality more important than they would be on a plain analog mic.
- Cardioid: Best for a beginner because it focuses on the voice and reduces background sound behind the mic.
- USB: Best for convenience because you can start recording immediately with one cable.
- Dynamic vs. condenser: Dynamic USB cardioid mics are usually more forgiving in untreated rooms. Condenser USB mics can sound brighter and more detailed, but they also pick up more room sound.
What makes the best cardioid microphone for a budget setup
For a budget buy, the winning mic is not the one with the longest feature list. It is the one that gives you a clean voice at close range with the least effort. That is why many streamers, podcasters, and voice-over beginners start with a hybrid dynamic model or a simple USB cardioid mic that has useful controls.
- Pickup pattern: Choose cardioid, not omnidirectional. If your room is noisy, a dynamic cardioid mic usually gives better room rejection than a budget condenser USB model.
- Self-noise: Lower is better. If you must raise the gain a lot, cheap condensers can hiss. A dynamic mic often sounds quieter in practice because you can record closer and use less gain.
- Connection: USB-C is convenient, but USB-A is fine if the cable is solid. A hybrid USB/XLR mic gives you an upgrade path later without replacing the microphone.
- Monitoring: A headphone jack with direct monitoring is a major advantage. It lets you hear yourself with no delay and catch clipping or plosives immediately.
- Stand compatibility: Check the thread size, weight, and included hardware. A desk stand is acceptable for light use, but a boom arm is better if you want to avoid keyboard vibration and desk thumps.
- Room sensitivity: In an untreated bedroom, prioritize a less sensitive dynamic USB cardioid mic. In a quiet, damped room, a small condenser can sound more open and detailed.
Useful starter examples include the Samson Q2U and ATR2100x-USB for the most forgiving result, HyperX SoloCast for a simple USB-only desk setup, and low-cost FIFINE models when price matters most. If you want the safest buy, choose the mic that stays full and natural when you speak 4 to 8 inches away instead of forcing you to run high gain.
When a pop filter helps on speech and vocals
A pop filter helps when bursts of air hit the capsule on P, B, and hard T sounds. It is most useful for close speech, podcasting, streaming, voice-over, and vocals. On a cardioid USB mic, it lets you stay close enough for a dry, present voice while cutting the low-frequency blast that can distort a take.
It also helps you keep your distance consistent. That makes level, tone, and proximity effect more predictable. For beginner recording, consistency matters more than technical perfection.
- Mesh pop filter: Best all-around choice. It controls airflow well and usually preserves the voice better than foam.
- Foam windscreen: Useful for simplicity and dust protection, but it can soften the top end and may not stop strong plosives as well.
- When it matters most: Use one if you speak within about 8 inches of the mic, if you sing close to the capsule, or if your voice has strong plosive bursts.
If you are already recording farther away and not hitting air bursts, a pop filter becomes less critical. If you want close-mic speech with a fuller tone, it is one of the cheapest upgrades you can make.
How to position the mic, set gain, and test plosives
Set the whole chain before you record a full take. The aim is a short, direct vocal sound with no pops, no clipping, and no distracting room echo.
- Mount the mic securely. Use the included desk stand if the desk is stable. Use a boom arm or shock mount if the desk picks up typing, mouse movement, or floor vibration. Keep the rear of the cardioid pattern pointed toward the loudest noise source.
- Start with distance. Place the capsule about 6 inches from your mouth. For a very noisy room, move closer to about 4 to 5 inches. If the voice sounds boomy or you still hear too many air bursts, move back toward 7 to 8 inches.
- Angle the mic slightly off-axis. Aim the mic a little to the side of your mouth, usually 15 to 30 degrees. That reduces plosives and breath noise without making the voice sound distant.
- Place the pop filter correctly. Put the filter 2 to 3 inches in front of the mic grille. Keep your mouth about 3 to 5 inches behind the filter. That usually leaves 6 to 8 inches between your mouth and the capsule.
- Set gain conservatively. Speak at your normal level and raise gain until loud words peak around -12 to -6 dBFS if your software shows meters. If you do not have a meter, set gain so loud speech never turns red or distorts. Use direct monitoring if the mic has it.
- Record a plosive test. Say a short line with strong P and B sounds, such as “paper, baby, purple bubble, bright blue button.” Then read a normal paragraph for 10 to 15 seconds. Listen back with headphones.
- Adjust one thing at a time. If you hear pops, increase the mic angle, move the filter slightly closer to the mic, or back your mouth away by 1 inch. If the voice is thin, move a little closer instead of adding gain. If the room sounds hollow, move closer and lower the gain.
- Success cues: The voice sounds full, loud words stay below clipping, air bursts are controlled, and the background sits behind the speech instead of fighting it.
- Failure cues: Sharp pops on P and B sounds, hiss between words, a hollow room tone, desk thumps, or red clipping on louder syllables.