Voice acting classes can give you a structured way to build performance technique, but progress comes from applying each lesson to a recording. A practical beginner path is to choose training for your current level, buy a microphone that suits your room, record short samples, and use feedback to prepare for small auditions.
Do not wait for a perfect studio or professional demo before practicing. Set a milestone for every purchase and class: finish a coached scene, make a clean 30-second recording, revise it after feedback, or submit a suitable audition.
Voice acting classes: compare level, curriculum, feedback, instructor fit, and practice load
Choose a course that matches your immediate goal. A beginner course should teach repeatable fundamentals rather than promise instant representation or paid work. Intermediate training is more useful after you can control volume, pacing, articulation, breath, and basic microphone technique.
Compare classes using five criteria:
- Curriculum: Look for lessons on breath control, diction, vocal health, script interpretation, character choices, commercial reads, narration, microphone technique, and self-direction. A class focused only on making funny voices will not prepare you for most entry-level work.
- Feedback: Confirm how often you perform and receive specific notes. Useful feedback identifies the problem, explains the adjustment, and gives you another chance to record or perform the line.
- Instructor fit: Review the teacher’s working background and teaching style. A commercial specialist may be ideal for advertising reads, while a game or animation performer may better fit character work. Choose an instructor whose examples match the type of work you want to try first.
- Practice load: Favor a course with manageable weekly assignments. Two focused practice sessions and one recorded submission each week create more progress than a large library of lessons you never complete.
- Level and class size: Beginners need time to ask basic questions and perform more than once. Avoid an advanced class that assumes professional audition experience. A small live group or individual coaching provides more usable correction than a crowded session.
Ask for a sample lesson, assignment outline, or explanation of how students are assessed before paying. Strong programs connect instruction to a measurable result, such as a controlled read at three different speeds or a revised commercial take based on notes. Treat the completed assignment as the reason for taking the class, not the certificate.
Start with one class or short coaching package instead of buying several programs at once. After four to six weeks, review your recordings and note whether your delivery, consistency, and ability to apply direction have improved. Continue, change instructors, or move to a more specialized course based on that evidence.
Choose a microphone for voice acting by room, connection, monitoring, and budget
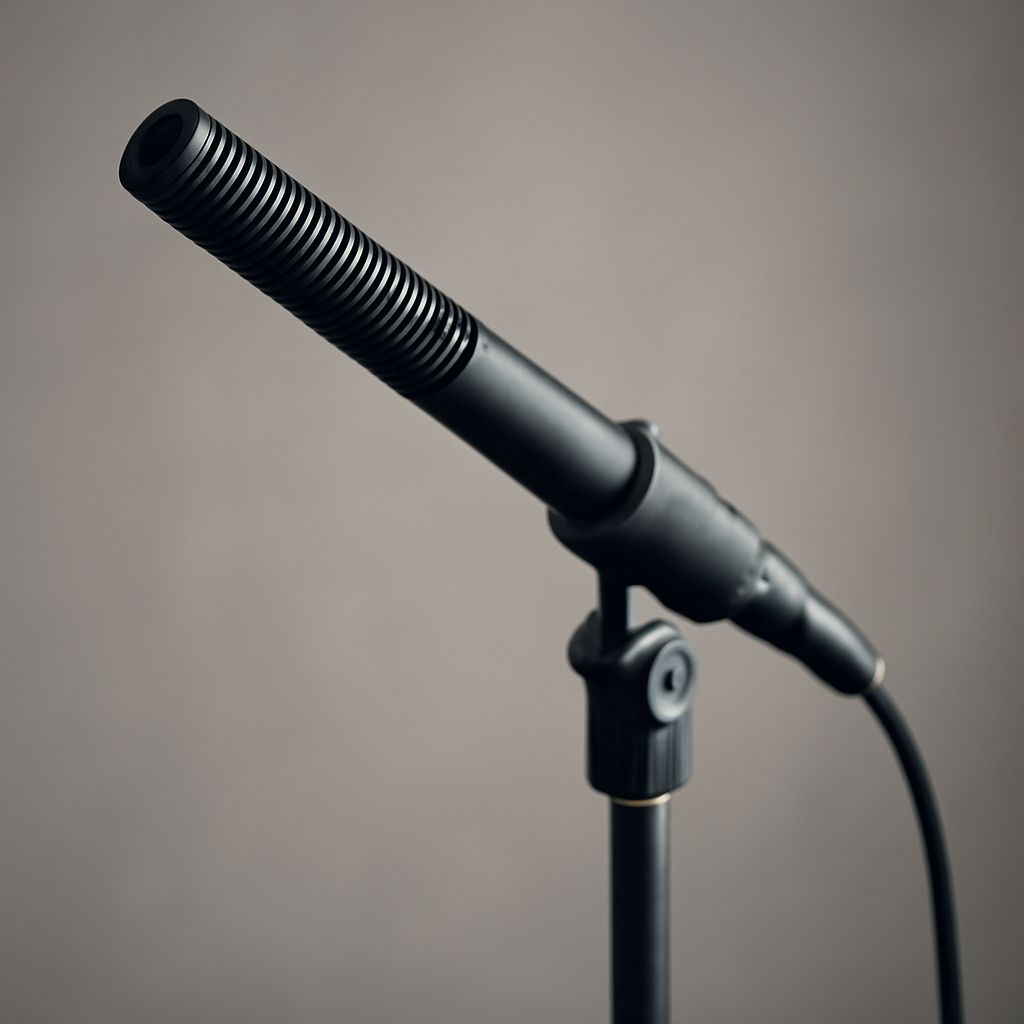
The best microphone for voice acting is the one that produces a clear, controlled recording in your actual room. A quiet, moderately treated room matters more than buying an expensive microphone. For a simple USB setup, the Audio-Technica AT2020USB-X is a practical condenser example. The Shure MV7 is a useful dynamic option for a less controlled room, while the RØDE NT1 5th Generation suits a quieter room and can support USB or XLR connections.
Compare each microphone on four points:
- Room: Condenser microphones capture detail but also reveal computer fans, traffic, air conditioning, and room reflections. Dynamic microphones generally reject more surrounding sound, although you must speak closer and maintain a consistent position. Record a 20-second silence test before choosing. A room with a steady noise floor or audible echo needs improvement before an upgrade.
- Connection: USB microphones connect directly to a computer and are suitable for first practice recordings, samples, and many beginner auditions. XLR microphones require an audio interface, an XLR cable, and a stand or mount. They offer a flexible recording chain but add cost and setup decisions.
- Monitoring: Select a microphone or interface with a headphone output and direct monitoring when possible. Closed-back headphones let you hear mouth noise, hum, clipping, and room noise without the microphone signal feeding back into the recording.
- Budget: Allocate money for the complete chain, not only the microphone. A basic USB setup may cost roughly $100 to $250, while an XLR setup with an interface, cable, stand, and headphones may begin around $250 and increase from there. Add a pop filter, but do not sacrifice a quiet recording space to buy a more expensive capsule.
Place the microphone slightly above or beside your mouth, aim it toward the corner of your lips, and keep a consistent distance of about 10 to 15 centimeters with a pop filter. Speak at a normal performance level and leave headroom rather than recording as loud as possible. Your purchase milestone is a clean 30-second test with no clipping, strong plosive bursts, distracting echo, or excessive background noise.
Practice, record, and create first samples through ordered milestones
Follow the same sequence each week so that practice produces usable evidence of improvement:
- Make a baseline recording. Read a short commercial, narration paragraph, and character passage on your phone or available microphone. Keep the scripts and recordings. Mark problems with pacing, unclear consonants, breath noise, flat emphasis, or inconsistent volume.
- Build a repeatable warm-up. Spend five to ten minutes on relaxed breathing, lip trills, gentle humming, and articulation drills. Stop if your throat feels strained. Then read the same passages again and compare control rather than trying to create a dramatic voice.
- Practice script interpretation. Mark the listener, purpose, key words, pauses, and emotional shift. Record three versions: one natural, one more energetic, and one based on a specific direction such as “calm and trustworthy.” This develops range without forcing an artificial sound.
- Learn microphone technique. Record from a fixed distance, turn slightly for plosive-heavy words, and keep your volume consistent. Check the waveform and listen through headphones. Adjust your position before applying heavy audio processing.
- Record clean practice takes. Use a quiet room, a simple recording application, and minimal processing. Save the unedited file and an edited version. Remove long mistakes and obvious noise, but do not hide poor diction or uneven delivery with effects.
- Create three starter samples. Make one 30- to 45-second commercial sample, one 45- to 60-second narration sample, and one 30- to 45-second character or conversational sample if that area interests you. Use different scripts and show a clear performance choice in each. These are targeted samples, not a claim that you can perform every genre.
Keep filenames descriptive, such as name_commercial_sample.wav, and export an audition-friendly MP3 when requested. Retain WAV files for future editing. A first sample is ready when the recording is intelligible, the performance has a clear point of view, and the audio does not distract from your voice.
How to get into voice over work through feedback, audition preparation, and opportunity tracking
Get outside feedback after you have completed several practice recordings, not before you have anything to review. Send one or two samples to your instructor, a reputable peer group, or an experienced performer who can comment on performance and audio separately. Ask for specific notes on clarity, believability, pacing, genre fit, and technical distractions. Revise one sample and compare the original with the new take.
Use this next sequence to prepare for initial opportunities:
- Choose a narrow starting lane. Select one or two areas that match your current strengths, such as commercial reads, e-learning narration, podcast intros, indie game characters, or local business videos. Tailor samples and practice scripts to those areas.
- Study the brief before recording. Identify the audience, tone, pronunciation requirements, accent, file format, deadline, and requested slate. Highlight the words that carry the message and decide where the listener should feel a change.
- Record two useful takes. Make the first take a straightforward interpretation. Use the second to apply a specific contrast, such as warmer, faster, more restrained, or more authoritative. Follow the brief instead of sending a collection of unrelated performances.
- Check the file before submitting. Listen from start to finish through headphones. Confirm that the beginning and ending are clean, the voice is not clipped, the file name follows instructions, and the format matches the request. Do not add music or elaborate effects unless requested.
- Track every opportunity. Create columns for project, source, role, genre, deadline, rate, usage, submitted take, follow-up date, and result. Include student films, indie productions, local businesses, podcast producers, community media, and legitimate casting listings that match your samples.
Begin with opportunities that test your process rather than chasing roles far beyond your current ability. Read the agreement or project terms before accepting work, clarify usage and payment, and keep copies of submitted files. If an audition produces no response, record the result without treating it as a verdict on your potential. Review whether the role matched your sample, whether you followed the brief, and whether the recording met the technical requirements.
Set a weekly target that you can sustain: two focused practice sessions, one feedback or revision session, and a small number of carefully matched submissions. The combination of finished recordings, applied notes, accurate auditions, and a current opportunity tracker shows progress more reliably than collecting additional equipment or classes.