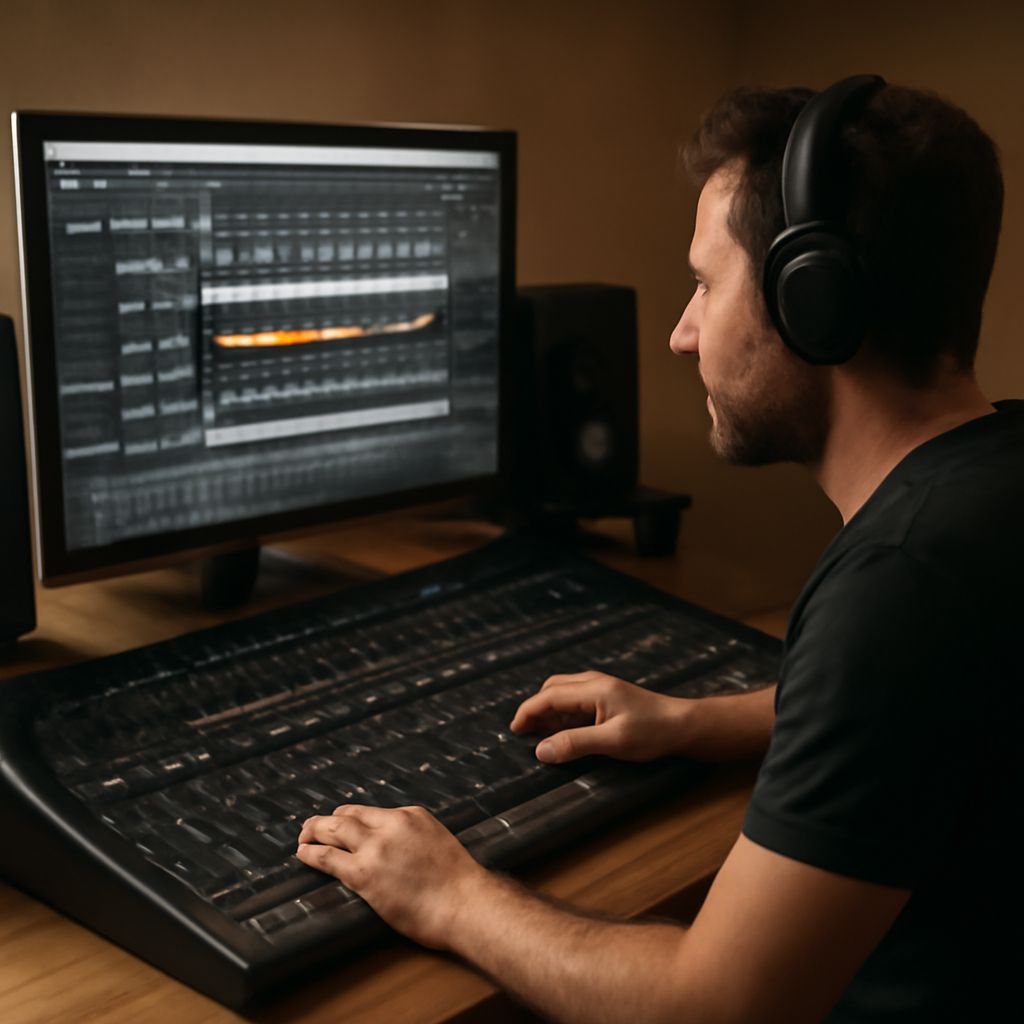
A beginner studio recording setup works best when the signal path stays simple: source to preamp, converter, and recording software. In most small rooms, an audio interface is enough. Add an audio mixer only when you need to combine several sources, create separate monitor blends, or handle a more complex session.
The goal is not to buy the most gear. The goal is to move sound cleanly from a microphone or instrument into the computer, then back out to headphones or speakers with low noise, low latency, and enough control to make good takes.
Studio recording equipment basics: sources, inputs, and the signal path
Every setup starts with the sound source. A vocal mic, acoustic guitar mic, electric guitar, keyboard, drum machine, or dynamic instrument all enter the system at different levels and with different connector needs. Your studio recording equipment has to match those sources before you think about software.
The basic path is straightforward:
- Source: microphone or instrument.
- Cable and input: XLR for microphones, TS or TRS for many instruments and line sources.
- Preamp: raises weak mic-level signals to usable level.
- Converter: changes analog audio into digital data for the computer.
- Recording program: arms tracks, records, edits, and plays back audio.
- Monitoring path: headphones or speakers for hearing the result in real time.
Mic choice affects the input stage. A dynamic mic usually needs more gain than a condenser mic. A condenser may need phantom power, so confirm that your interface or mixer supplies 48V before you connect it. Instruments also need the correct input type. A guitar or bass often sounds best through a Hi-Z instrument input, while synths and drum machines usually feed line inputs.
Healthy gain staging starts before the computer. Set the source at normal performance level, then adjust preamp gain until the loudest peaks land well below digital clipping. In a beginner setup, that usually means peaks around -12 dBFS to -6 dBFS in the recording software. Leave headroom for unexpected accents.
Balanced cables reduce noise over longer runs, especially from a mixer or interface to monitors. Unbalanced cables can work for short instrument runs, but they are more likely to pick up hum. Keep power supplies away from audio cables when possible, and avoid running audio lines parallel to AC adapters for long distances.
Mixer versus audio interface: when an audio mixer makes sense
An audio interface is the simplest choice for most beginners. It gives you microphone preamps, analog-to-digital conversion, computer drivers, and monitoring in one box. If you record one vocal, one guitar, or a small number of sources at a time, an interface is usually all you need.
An audio mixer becomes useful when you need to combine several sources before they reach the computer. That may include multiple microphones, several keyboards, a podcast table, a rehearsal room, or a live-streaming rig that needs quick hands-on control. A mixer can also help when you want separate headphone mixes, onboard EQ, or auxiliary sends for monitors and effects.
Choose an interface alone when you want:
- 1 to 4 clean inputs for basic tracking.
- Direct computer recording with separate tracks.
- Simple setup and fewer cables.
- Easy driver support and lower learning curve.
Choose a mixer when you need:
- Several sources blended into one stereo feed.
- Hands-on level control during rehearsal or streaming.
- Monitor mixes for performers.
- Quick control without opening software for every adjustment.
There is also a hybrid approach. Some mixers work as USB interfaces and send audio to the computer over USB. That can be useful if you want physical controls and computer recording in one unit. The limitation is important: many USB mixers record only a stereo mix, while an interface or digital mixer with multitrack support can record each source on its own track. For music production, separate tracks are usually more flexible.
For beginners, the safest default is this: use an interface unless you have a clear reason to mix hardware first. A standalone mixer is helpful, but it is not required in every studio.
Choosing and configuring a recording program
The best recording programs for a beginner are the ones that match the computer, support stable drivers, and make track setup obvious. Common choices include Reaper, Logic Pro, Pro Tools, Studio One, Ableton Live, and GarageBand. Any of them can work if the signal path, driver setup, and track routing are correct.
Start with the essentials. Your recording program should support:
- Multiple audio tracks.
- Input selection per track.
- Record arm and monitoring controls.
- Editing, comping, and basic mixing tools.
- Export to standard formats such as WAV or AIFF.
Install the correct driver for your interface or mixer first. On Windows, ASIO drivers are the standard choice for low-latency recording. On Mac, Core Audio is built in for most devices. Select the audio device in the DAW, then confirm that input and output routing match the hardware you are using.
Set the session format before you record. For most beginner projects, 24-bit depth gives enough headroom and a clean noise floor. Sample rate depends on the use case: 44.1 kHz is common for music, and 48 kHz is standard for video. Use one format consistently across the session unless the project requires a change.
Buffer size affects latency. A smaller buffer, such as 64 or 128 samples, helps when you are tracking with software monitoring and effects. A larger buffer, such as 256 or 512 samples, gives the computer more breathing room during mixdown. If you hear pops or dropouts, raise the buffer. If the monitoring delay feels distracting, lower it.
Create one track per source. Record a vocal to a mono track. Record a single guitar mic to a mono track. Use stereo tracks only for stereo sources or matched pairs. Name tracks clearly before recording, then save a session template once your setup is stable.
Routing, levels, monitoring, and a test session
Good routing keeps the signal path clear. If you use an interface, connect the microphone or instrument directly to the correct input, then route that input to a track in the recording program. If you use a mixer, send the mixer’s main output or direct output to the interface input, then record from that input in the software. If you need separate tracks from several sources, confirm that the hardware supports multitrack USB or individual outputs before you start.
Monitoring can happen in two ways. Direct monitoring sends the input straight to headphones or speakers before it reaches the computer, so latency stays very low. Software monitoring lets you hear effects and DAW processing, but it depends on buffer size and system speed. For beginners, direct monitoring is often the easiest way to avoid delay while tracking.
Use this setup checklist before a real session:
- Gain: set preamp gain so peaks stay below clipping, with comfortable headroom.
- Latency: test the monitoring delay and lower the buffer only if the computer stays stable.
- Clipping: watch input meters on the interface, mixer, and DAW. None should hit red.
- Noise: listen for hum, hiss, buzz, or ground noise. Fix cable and power issues before recording.
- Playback: confirm that the recorded track plays back through the intended headphones or speakers.
Run a short test session every time the setup changes. Record 20 to 30 seconds of speech or a loud musical passage. Check the waveform for flat tops, which indicate clipping. Listen back for room noise, clicks, or delay. If the take sounds clean, record the real performance with the same settings.
When using a mixer, keep the input path simple. Set channel gain first, then adjust faders for the blend, and avoid using faders to compensate for bad preamp levels. When using an interface, treat the gain knob as the main front-end control and keep track levels conservative in the recording program. In both cases, the finished result should be a clean track with enough headroom for later editing and mixing.