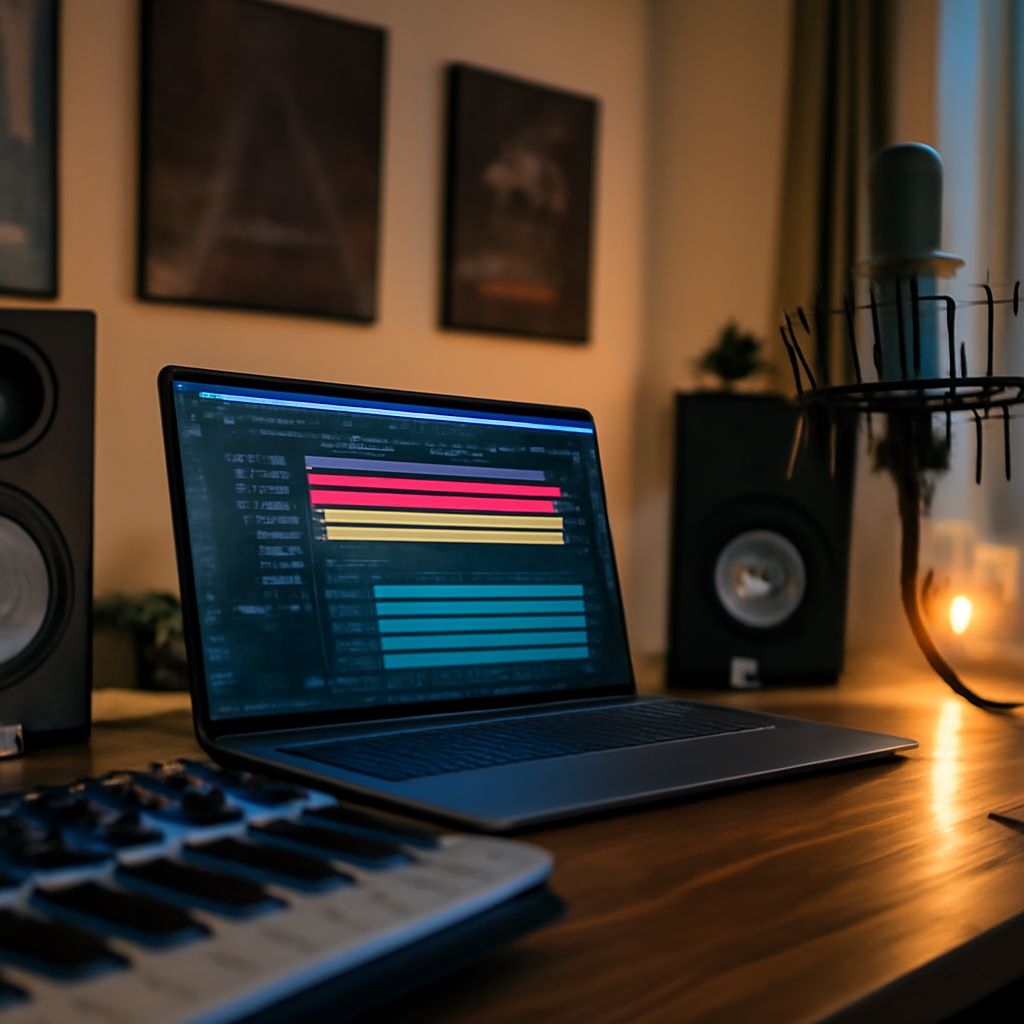
Build the smallest working signal chain first: input, connection, computer, recording software, and monitoring. For most beginners, that means a microphone or instrument, a USB audio interface, closed-back headphones, a few suitable cables, and a PC running a digital audio workstation.
Your room and software matter, but they cannot compensate for a clipped input, an incompatible driver, or a noisy connection. Set up one reliable source before adding upgrades. This approach gives you a usable bedroom recording studio for voice, guitar, instruments, podcasts, or music production without buying unnecessary equipment.
Choose the recording purpose and audio recording devices
Choose the source before choosing your audio recording devices. A voice recording needs a microphone and a quiet position. An electric guitar needs either a microphone in front of an amplifier or an interface with a high-impedance instrument input. A keyboard, drum machine, or mixer usually connects through line inputs. A MIDI controller sends performance data, not recorded audio, so it still needs a virtual instrument inside the software.
Use one of these basic signal chains:
- Voice or acoustic instrument: microphone to XLR cable, audio interface, USB cable, PC, recording software, and headphones.
- Electric guitar or bass: instrument cable to the interface’s instrument or Hi-Z input, then USB to the PC and software.
- Keyboard or external device: line output to the interface’s line input, with the correct balanced or unbalanced cable.
- USB microphone: microphone directly to the PC, with headphones connected to the microphone if it has a headphone output, or to the computer if the software supports reliable monitoring.
An XLR microphone and separate interface provide more flexibility than a USB microphone. The interface supplies microphone preamps, analog-to-digital conversion, headphone output, and often direct monitoring. A USB microphone is simpler and can work well for speech, but it gives you fewer input and upgrade options.
Dynamic microphones are often forgiving in untreated rooms because they capture less distant room sound. Condenser microphones can provide more detail but usually reveal reflections, computer fans, and traffic more clearly. If a condenser requires phantom power, enable 48V only after connecting the microphone and keep monitor levels low. Turn phantom power off before disconnecting it.
Connect essential devices and decide on upgrades
Start with these essential devices:
- Input device: a microphone, instrument, or line-level source suited to what you record.
- Interface or USB path: an audio interface for XLR, instrument, or line inputs, or a USB microphone for a one-device setup.
- Monitoring: closed-back headphones for recording. They reduce spill into the microphone. Add studio monitors later if the room and listening position are reasonably controlled.
- Support: a stable microphone stand, boom arm, or desktop stand. A shock mount can reduce desk and floor vibration.
- Cables: an XLR cable for most microphones, an instrument cable for guitar or bass, and the correct USB cable for the interface or microphone. Keep spare cables if a failed connection would stop a session.
- PC connection: a compatible USB port and enough processing power, storage, and memory for the number of tracks and plug-ins you use.
Place the interface where its gain controls are easy to reach. Connect the microphone to input one, connect the interface to the PC, and select the interface as both the input and output device in your recording software. Use the interface headphone output when possible. This keeps input and playback on the same clock and usually gives more dependable monitoring than switching between separate computer devices.
Use direct monitoring when recording a live voice or instrument and you need to hear yourself without software delay. If direct monitoring is active, mute the software track’s input monitoring or you may hear a doubled, delayed signal. Software monitoring is useful when you need an effect such as amp simulation or reverb, but it requires a small buffer and a suitable driver.
Do not buy upgrades until the basic chain works. A pop filter is a useful early addition for voice because it reduces explosive “p” and “b” sounds. Add a better microphone when the current one limits the result, a second microphone when you need stereo or simultaneous sources, and studio monitors when you can place them symmetrically. An external preamp, patch bay, or larger interface is unnecessary for a first single-source setup.
Arrange the bedroom recording studio and control reflections
Choose the quietest part of the room, away from a window, computer fan, radiator, and hard parallel surfaces. Turn off rattling devices and silence phone notifications. For voice, place the microphone so the performer faces into the room rather than directly toward a bare wall. Leave some distance behind the microphone and performer so early reflections do not bounce straight back into the capsule.
For speakers, place the desk along the shorter wall when practical. Keep the left and right sides as symmetrical as possible, position tweeters at ear height, and form an approximately equal-sided triangle between the two speakers and your head. Keep speakers away from corners and use isolation pads if the desk vibrates. A listening position around 38 percent of the room’s length is a useful starting point, but use your ears and adjust it if bass becomes unusually loud or weak.
For microphone recording, a rug, curtains, filled bookshelves, upholstered furniture, and a mattress temporarily placed behind the performer can reduce high-frequency reflections. A portable absorber placed behind the singer can help if it is thick and positioned correctly. Keep the microphone away from the center of the room if that position produces a strong, hollow sound, and test several distances before treating the room extensively.
Acoustic foam absorbs some high and mid frequencies; it does not soundproof a bedroom. It will not stop traffic, neighbors, computer noise, or bass escaping through walls. Soundproofing requires construction changes that add mass, sealing, and isolation. For a beginner, recording during quieter hours and moving the microphone away from noise sources usually gives a greater benefit than covering every wall with thin foam.
Make a short test recording from the intended performance position. Move the microphone closer for a more direct sound and less room contribution, but avoid placing it so close that bass becomes boomy or plosive sounds become severe. For voice, start roughly 10 to 20 centimeters from the pop filter, then adjust by ear. Keep headphones at a safe, moderate level so you can judge the recording without fatigue.
Choose PC music recording software and run a first-session test
PC music recording software is usually called a DAW, or digital audio workstation. Reaper is a flexible, lightweight choice with extensive routing. Cakewalk is a full-featured Windows option for recording and arranging. Audacity is straightforward for spoken-word recording and editing, but it is less suited to complex multitrack production. Ableton Live and FL Studio are strong choices for loop-based music, virtual instruments, and electronic production. Choose software that supports your PC’s operating system, interface driver, plug-ins, and required track count.
Install the interface manufacturer’s driver when one is available, then restart the PC if requested. In the DAW’s audio settings, select the interface driver and choose the interface for input and output. ASIO drivers on Windows typically offer lower latency than generic system audio modes. Set the project to 44.1 or 48 kHz and use the same sample rate in the interface control panel and DAW.
- Create a test project: make one mono audio track for a microphone or instrument. Select the correct physical input and turn on input monitoring only if you need software effects.
- Set the gain: perform or sing at the loudest expected level while raising the interface gain. Aim for peaks around -12 to -6 dBFS in the DAW. Never let the meter reach 0 dBFS, which causes clipping. Lower the gain if the interface’s clip light turns on.
- Set the buffer: begin with 128 samples for recording. Use 64 samples if monitoring remains stable and latency is distracting. Raise it to 256 or 512 samples when mixing large projects or using many plug-ins.
- Record silence: capture several seconds with the performer quiet. Listen for hum, hiss, fan noise, clicks, and intermittent USB problems. A rising noise level when you touch a cable usually indicates a connection or grounding issue.
- Record a performance: capture a short voice line, instrument phrase, or MIDI-backed part. Watch for clipping, dropouts, delayed monitoring, and a waveform that is extremely small or excessively large.
- Check playback: stop recording, disable input monitoring if necessary, and play the take through the same headphones or speakers. Confirm that the sound is centered when expected, both channels work, the beginning and end are not cut off, and the recorded level is clean.
If you hear a doubled voice, disable either direct monitoring or software monitoring. If playback is silent, check the track output, master output, interface volume, and operating-system audio device. If latency remains high, lower the buffer, close unused applications, and remove demanding plug-ins from the recording track. Save the working project as a template so future sessions open with the correct input, output, sample rate, and monitoring settings.