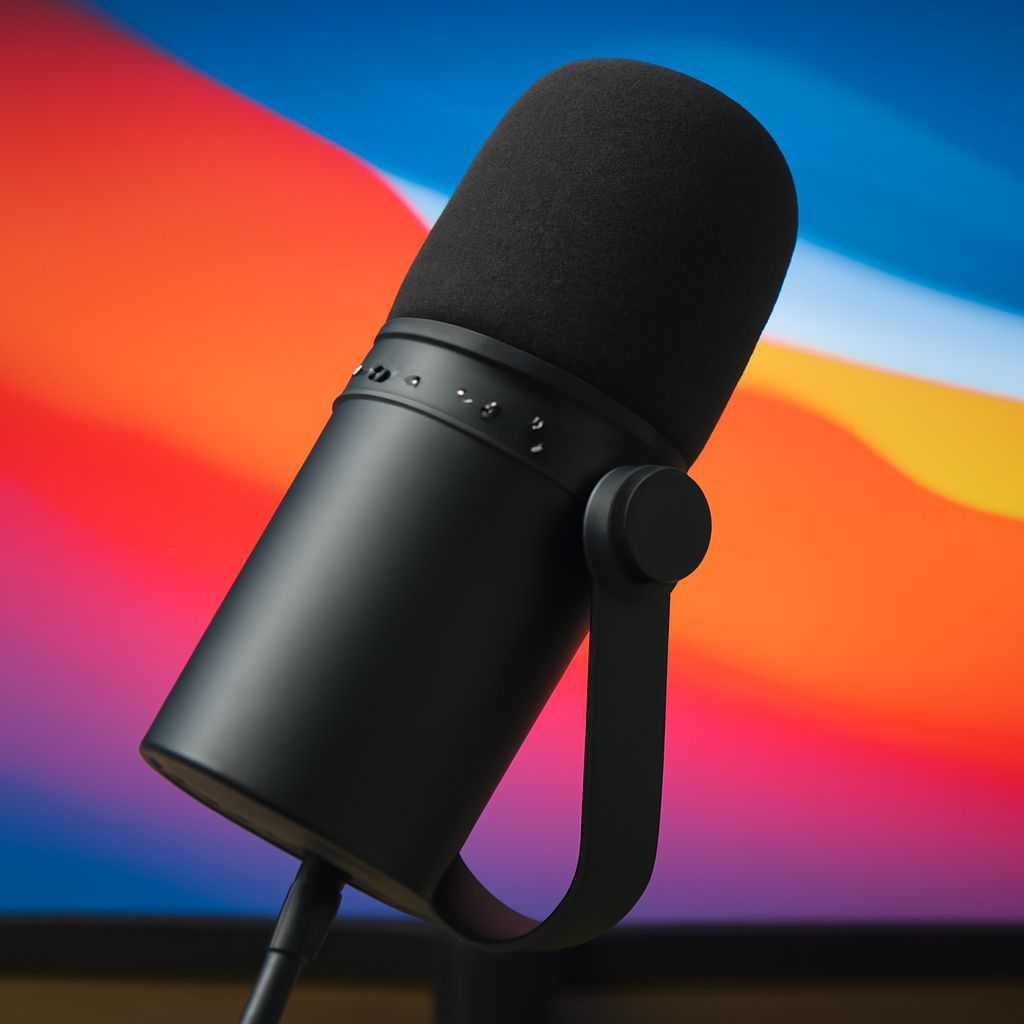
The best USB mic for most voice, streaming, and travel setups is a complete USB microphone that matches your room and recording distance. A condenser microphone is a different category: it describes the capsule design, not the connection. Many USB microphones, including the Audio-Technica AT2020USB-X, Rode NT-USB+, Elgato Wave:3, and Rode NT1 5th Generation, use condenser capsules.
Choose by comparing the entire signal chain rather than treating USB and condenser as opposites. A USB microphone connects directly to a computer and contains its own preamp and analog-to-digital converter. An XLR condenser microphone, such as the Audio-Technica AT2020 or Rode NT1, needs an audio interface, an XLR cable, and a computer connection. The right setup depends on your voice, room, recording goals, budget, and plans to add microphones or instruments later.
Best USB mic or condenser microphone? Separate connection from capsule design
USB describes how the microphone connects. Condenser describes how the microphone captures sound. These terms can describe the same product.
- USB microphone: The microphone sends a digital signal directly to a computer, tablet, or compatible device. Its body usually contains the preamp, converter, headphone output, and monitoring controls.
- XLR microphone: The microphone sends an analog signal through an XLR cable to an audio interface or mixer. The interface supplies gain, phantom power when required, conversion, and computer connectivity.
- Condenser microphone: A sensitive capsule design that captures detail, high frequencies, room reflections, and quieter sounds effectively. Most large-diaphragm studio microphones are condensers.
- Dynamic microphone: A generally less sensitive design that rejects more distant room sound and tolerates loud sources well. The Shure MV7 and Shure SM7B are common voice-focused dynamic examples.
A USB condenser microphone and an XLR condenser microphone may use similar capsule technology, but their complete signal chains differ. The USB model includes fixed internal electronics and a built-in converter. The XLR model gives you more control over the preamp, converter, processing, and future routing.
For example, an Audio-Technica AT2020USB-X is a direct-to-computer condenser setup. An XLR Audio-Technica AT2020 paired with a Focusrite Scarlett Solo is an interface-based condenser setup. Neither is automatically better. The USB version is simpler and more portable; the XLR version is easier to expand and replace piece by piece.
Some USB microphones use dynamic capsules. The Shure MV7+ combines USB and XLR outputs with a dynamic capsule, making it useful for close voice recording in rooms with background noise. This is why condenser microphone reviews alone do not answer which microphone is best. Capsule type, polar pattern, placement, room acoustics, electronics, and monitoring all affect the result.
Compare sound, room, connection, latency, budget, and expansion
Apply the same criteria to the microphone, interface, headphones, stand, and room. A costly capsule will not remove keyboard noise, traffic, fan noise, or echo from an untreated space.
Sound and voice detail: Condensers usually capture more upper-frequency detail and subtle changes in speech. They can make a clear, intimate voice sound polished, but they also capture mouth noise, computer fans, reflections, and inconsistent room tone. A dynamic microphone placed close to the speaker often produces a denser voice with less room sound.
For spoken voice, listen for intelligibility rather than maximum brightness. Excessive treble can emphasize sibilance, while excessive proximity effect can make a close dynamic recording boomy. A good condenser mic should retain detail without making the recording harsh at your normal speaking distance.
Room acoustics: A condenser does not require a treated studio, but its sensitivity makes room problems more obvious. In an untreated room, place the microphone away from bare walls and windows, move close enough to improve the voice-to-room ratio, and use a rug, curtains, bookshelves, or soft furnishings to reduce reflections. A dynamic microphone can be more forgiving, but it still hears a poor room if you use it from too far away.
Cardioid microphones are usually the practical starting point. They favor sound from the front and reduce sound from the rear. Correct orientation matters: point the front of the capsule at your mouth and place the least sensitive part toward the loudest unwanted noise. A noise gate can reduce pauses, but it cannot fix echo or make distant speech sound close.
Connection and setup: USB is the simplest route. Connect the microphone, select it in the recording application, plug headphones into the microphone if available, and set the input level. This suits podcasting, video calls, streaming, voice-over, and mobile recording.
XLR requires more equipment but separates the components. A basic chain is microphone, XLR cable, audio interface, computer, and headphones. A condenser usually needs 48-volt phantom power from the interface. An XLR setup is preferable when you want two or more microphones, instrument inputs, hardware processing, multiple headphone mixes, or the option to change microphones without replacing the computer interface.
Latency and monitoring: Latency is the delay between speaking and hearing the processed signal. Direct headphone monitoring on a USB microphone or audio interface can make live monitoring feel immediate. Software monitoring may introduce a noticeable delay, especially with large plug-in chains or a busy computer.
For streaming, confirm that the microphone provides a headphone output and a practical mute or volume control. Direct monitoring is useful when you need to hear your voice while also listening to game or call audio. XLR interfaces often provide direct monitoring, but the exact routing and blend controls vary.
Budget: Compare complete costs, not microphone prices alone. A USB setup may require the microphone, boom arm or stand, pop filter, and headphones. An XLR setup adds an interface and cable. A lower-priced XLR microphone can become the more flexible long-term purchase, while a higher-priced USB microphone can be the better immediate value if it avoids equipment you do not need.
A sensible budget decision follows the recording task:
- For occasional voice recording, start with a USB microphone and a stable stand.
- For regular streaming, include a boom arm, headphones, and a way to monitor without latency.
- For music, reserve part of the budget for an interface, closed-back headphones, and suitable placement.
- For a future multi-microphone setup, buy an interface with the required number of preamp inputs rather than adding adapters later.
Future expansion: USB is not automatically a dead end. Some microphones, such as the Shure MV7+ and Rode NT1 5th Generation, provide both USB and XLR outputs. A dual-output microphone can start as a simple computer setup and later connect to an interface. Check whether the two outputs can be used in the way your workflow requires; do not assume every model supports simultaneous recording through both.
Choose a setup for voice, streaming, music, untreated rooms, or portability
For spoken voice and voice-over: Choose a USB condenser if you record in a reasonably quiet room and want detailed speech with minimal equipment. The Rode NT-USB+ and Audio-Technica AT2020USB-X are straightforward examples. Use a pop filter, keep a consistent distance of roughly 10 to 15 centimetres, and angle the microphone slightly off-axis if plosives or harsh consonants are strong.
Choose a USB/XLR dynamic such as the Shure MV7+ if the room is noisy, you speak close to the microphone, or you want a broadcast-style sound. The close position demands consistent technique, but it can reduce the amount of room and computer noise in the recording.
For streaming: Prioritize headphone monitoring, a mute control, easy gain adjustment, and compatibility with your streaming software. A USB condenser such as the Elgato Wave:3 offers a simple desktop workflow and detailed speech. A Shure MV7+ offers USB convenience with an XLR upgrade path and may suit a streamer who records close to the microphone in a less controlled room.
Place the microphone just outside the camera’s most distracting area rather than choosing a model solely for its appearance. Keep the capsule close enough for a strong voice signal, but avoid placing it directly in front of a keyboard, laptop fan, or loud monitor.
For music and instruments: An XLR condenser plus an audio interface is usually the more useful starting point. It supports gain control, phantom power, instrument inputs, multiple microphones, and later changes to the recording chain. An XLR Rode NT1 or Audio-Technica AT2020 can record vocals, acoustic guitar, and other moderate-volume sources with appropriate placement.
A USB condenser can still work for songwriting, demos, and a single vocalist or instrument. It becomes limiting when you need to record two sources at once, position several microphones, use external preamps, or connect studio hardware. For loud guitar cabinets, drums, or aggressive sources, consider a dynamic microphone designed to tolerate high sound pressure levels.
For an untreated room: Start with placement before buying a more sensitive microphone. A dynamic microphone used close to the mouth is often the safer choice for podcasts, calls, and streaming near hard surfaces. If you prefer a condenser, reduce reflections with soft furnishings and record with the microphone facing away from the loudest reflective surface.
Do not rely on a desk stand if touching the desk creates thumps. Use a shock mount or boom arm where practical, and isolate the stand from speakers, keyboard impacts, and other vibration sources. A microphone with a good frequency response cannot compensate for mechanical noise.
For portability: Choose a compact USB microphone with a stable stand, USB-C compatibility where appropriate, and a headphone output. A direct USB connection is easier for a laptop-based setup than carrying an interface, XLR cable, and separate power accessories. Verify the recording device supports the microphone and that any required adapter preserves data connectivity rather than providing charging only.
Portable recording also favors a microphone with a controlled pickup pattern. A small room may sound worse when the microphone captures every nearby reflection. Record a short sample at the actual destination before committing to a travel setup.
Test the microphone before keeping it or planning an upgrade
Test the complete setup in the room and application where you will use it. Product specifications and condenser microphone reviews can identify useful features, but your voice, desk, computer noise, and acoustics determine whether the microphone works for you.
- Set the same position: Mount each microphone at the same height and distance, ideally 10 to 15 centimetres for close spoken voice. Keep the capsule aimed consistently and use the same pop filter.
- Match recording levels: Record the same sentence and adjust each microphone so the average loudness is similar. A louder sample often sounds better in a quick comparison even when it is not more detailed.
- Record normal speech: Include quiet words, loud phrases, sibilant sounds, plosives, and a pause. Listen for intelligibility, harshness, breath noise, distortion, and changes in tone as you move slightly.
- Check the room: Record several seconds of silence, keyboard use, fan noise, and ordinary movement. A microphone that sounds excellent on speech may capture too much background noise for your space.
- Test monitoring: Plug headphones into the microphone or interface and check direct monitoring while speaking. Listen for delay, electrical noise, headphone volume, and whether computer playback can be heard at the same time.
- Test the controls: Confirm that mute, gain, headphone volume, polar-pattern selection, and software settings behave as expected. Make sure the recording application does not switch to a different input after reconnecting the device.
- Check handling noise: Tap the desk lightly, adjust the boom arm, and move the cable. Excessive thumps or cable noise may matter more than a small difference in frequency response.
- Test your upgrade path: If you may move to XLR, confirm that the microphone has an XLR output or budget for a replacement microphone and interface. If you may record music, check the interface input count, phantom power, monitoring, and simultaneous-track requirements now.
Keep the microphone that produces a clear, comfortable recording in your real room with manageable noise and monitoring. Choose a USB condenser for the simplest detailed setup, an XLR condenser for music and expansion, or a USB/XLR dynamic for close voice work in a difficult room. That comparison is more useful than naming one universal best USB microphone.