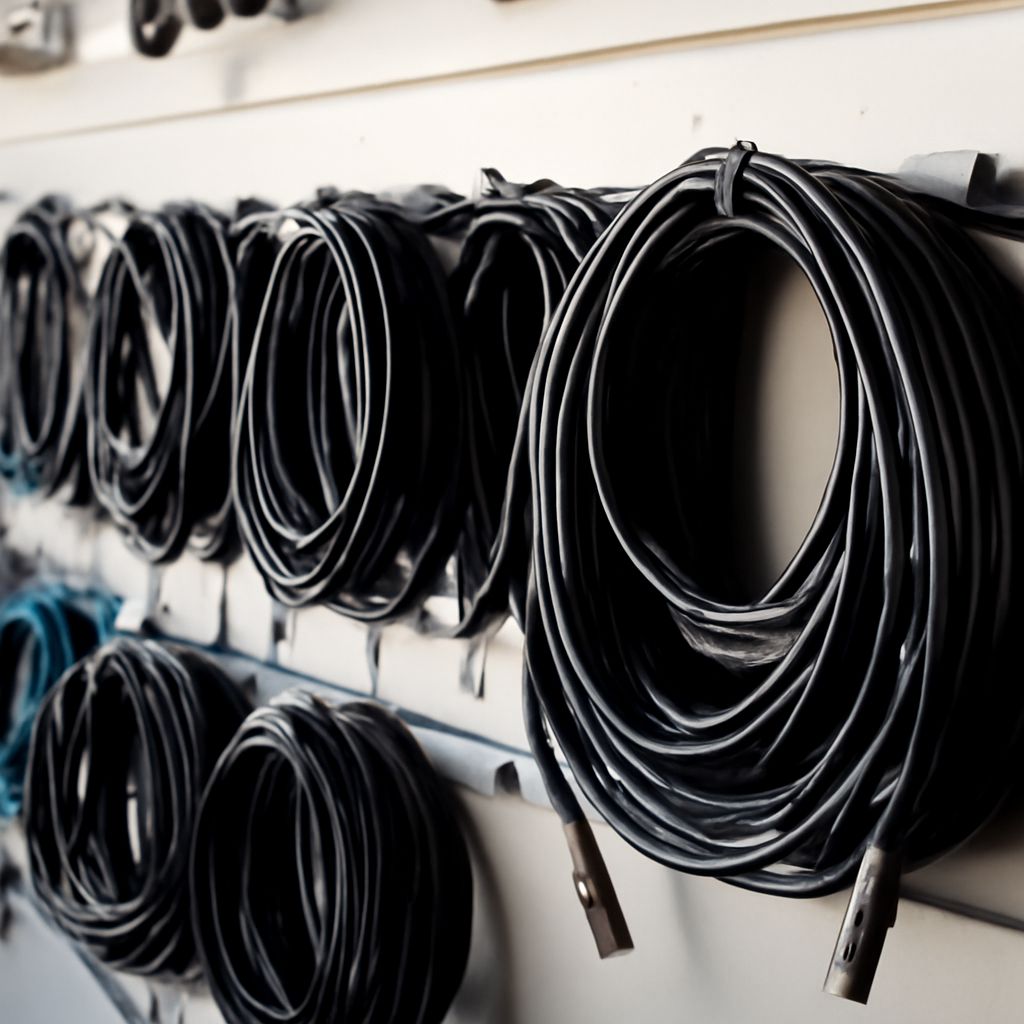
For an XLR microphone and an interface with an XLR mic input, start with a balanced XLR-to-XLR lead. A dependable recording lead fits both sockets, reaches without strain, and stays quiet when you move. Choose one with sturdy connectors and a flexible jacket. Your performance has enough moving parts already.
Best Microphone Cables: What to Look For
The best microphone cables use reliable connectors, effective shielding, and a length suited to the room. Look for a secure latch, a flexible jacket, and strain relief where the cable enters each plug. Strain relief helps protect the connection inside when the lead bends. A well-built ordinary cable can serve a home booth for years; a high price alone cannot promise a more expressive voice.
Choose the best microphone cable for your setup by checking both ends before buying. Most studio XLR microphones have a three-pin male output; the cable’s female end plugs into it. The cable’s male end connects to the interface’s XLR microphone input. A USB microphone uses a USB connection instead, so check its manual and port before ordering anything.
Why Balanced Connections Help
A balanced connection uses two signal conductors and a shield. The receiving input compares the signals and rejects much of the interference picked up equally along the run. The shield adds protection against electrical interference. Shure’s recording guide explains the arrangement and its value over longer distances.
The whole connection matters: use a balanced output, a suitable lead, and a balanced input. A connector alone cannot turn an unbalanced signal into a balanced one. For most home voice setups, a standard XLR lead between the microphone and interface is the straightforward choice.
A guitar instrument lead often has a quarter-inch TS plug with one black insulating ring. It normally carries an unbalanced signal and is intended for an instrument input. A quarter-inch TRS plug has two rings and can carry a balanced signal, but its appearance does not establish what a particular socket does. Read the labels and the equipment manual rather than forcing a plug into the nearest hole.
Pick a Length and Treat It Kindly
Measure the route from the stand to the interface, including the drop from the microphone and a little slack for adjustments. A 10-foot lead may suit a desk and a nearby stand; a booth across the room may need 20 feet. Leave enough slack that moving the stand does not pull on either socket. Avoid a long pile of excess lead where a chair can roll over it.
Keep audio runs away from power adapters and mains cords where practical. If they must cross, cross them at an angle. A balanced line helps reject interference, but routing can still help when a noisy power supply is nearby. Secure a floor run so that nobody trips and the plugs do not take the force of a footstep.
Cables for microphones last longer when handled gently. Coil the lead loosely instead of wrapping it tightly around your elbow. Unplug by holding the connector, pressing its latch if there is one, and pulling straight out. Do not yank the wire. Check the jacket and plug ends for cuts, loose parts, or bent pins. Retire a visibly damaged lead until it can be properly repaired or replaced.
Find the Source of Noise
Record a short sample with the same gain and speaking position you normally use. Listen on headphones during a pause. A steady hum or buzz can point toward interference; crackles when the lead moves can point toward a bad connection. Room noise and an overly high gain setting can also make a recording sound dirty, so the first suspect does not get a conviction without a test.
Mute the monitor output before unplugging. Turn off phantom power before disconnecting a microphone, and follow the equipment’s instructions. Reseat both ends, then record again. If the sound remains, exchange the lead for a known-good one while keeping the microphone, interface, gain, and position unchanged. If the fault follows the lead, repair or replace it. If it stays, test the microphone, input, and nearby equipment one at a time.
Before the next session, record a short sample and keep a spare lead within reach so a faulty connection does not interrupt a performance.